Table of Contents
Introduction
Docker containers are a new way of deploying and rapid scaling of applications in a simple and most configurable manner.
In the era of high availability and scalability requirements for applications, docker containers provide a way of creating customized application environments with all necessary prerequisites in place.
Similar to many application stacks which can be “dockerized” into containers, aspnetcore is also provided with necessary docker development and runtime “images” which are needed for creating containers.
In this article, let’s look at how we can deploy an ASP.NET Core (.NET 6) Web API in Docker.
What is a Container?
A container is an encapsulated environment with necessary runtime and other configurations in place for applications to be able run independently as if running in a real machine.
It is a virtual copy created from a real host machine, with necessary configurations in place facilitating easy extensibility.
While a container is a physical entity where the code runs, it is built based on an “image” which is a logical template that demonstrates how the container should be built and run.
We build a container image with reference to a “Base Image”, which are official images that may contain underlying environment details common for most of the images.
How to build an ASP.NET Core Web API Docker Container Image
For an aspnetcore application, building and deploying an application is done in below steps.
Building Artifacts in Build Environment
In the developer environment which we call the build environment.
- Restore packages for application, which generally downloads all the missing dependencies.
- Publish the application onto an output directory which generates the release binaries.
- Copy the binaries which are generated from the publish command onto the execution machine or the runtime environment.
Building Artifacts in Runtime Environment
In the runtime environment where the application runs until stopped.
- Move to the path where the binaries are copied within the directory.
- Run dotnet command on the binaries in the output directory to bootstrap the application.
- These steps are translated into docker language in terms of a Dockerfile, which is used to build containerized images for any application using a base image.
- For dotnet core, we are provided with two base images: one is an sdk image without any runtime environment. The second is a runtime environment without sdk.
- In order to publish and deploy an aspnetcore application we would make use of these two images to create two build “steps”.
Let’s begin by creating a Dockerfile (filename is Dockerfile without any extension) in the root of our application directory.
It contains the instructions to build – publish – run, as below.
I am using the ContainerNinja.API project for demonstration. It is a part of the ContainerNinja.CleanArchitecture boilerplate solution built using .NET 6 following industry best practices. You can find the boilerplate here – https://github.com/referbruv/ContainerNinja.CleanArchitecture
# Step 1 - The Build Environment #


#Base Image for Build - dotnetcore SDK Image


FROM mcr.microsoft.com/dotnet/aspnet:6.0 AS base
WORKDIR /app


FROM mcr.microsoft.com/dotnet/sdk:6.0 AS build
WORKDIR /src


# copy all the layers' csproj files into respective folders
COPY ["./ContainerNinja.Contracts/ContainerNinja.Contracts.csproj", "src/ContainerNinja.Contracts/"]
COPY ["./ContainerNinja.Migrations/ContainerNinja.Migrations.csproj", "src/ContainerNinja.Migrations/"]
COPY ["./ContainerNinja.Infrastructure/ContainerNinja.Infrastructure.csproj", "src/ContainerNinja.Infrastructure/"]
COPY ["./ContainerNinja.Core/ContainerNinja.Core.csproj", "src/ContainerNinja.Core/"]
COPY ["./ContainerNinja.API/ContainerNinja.API.csproj", "src/ContainerNinja.API/"]


# run restore over API project - this pulls restore over the dependent projects as well
RUN dotnet restore "src/ContainerNinja.API/ContainerNinja.API.csproj"


#Copy all the source code into the Build Container
COPY . .


# Run dotnet publish in the Build Container
# Generates output available in /app/build
# Since the current directory is /app


WORKDIR "/src/ContainerNinja.API/"
RUN dotnet build -c Release -o /app/build


# run publish over the API project
FROM build AS publish
RUN dotnet publish -c Release -o /app/publish


# Step 1 Ends - The binaries are generated #
One can observe that we’re pretty much using the same dotnet commands which are usually used to restore and publish an application.
Tip: Sometimes during “dotnet restore” build step, we might encounter network issues which can result in error such as: restore: Received an unexpected EOF or 0 bytes from the transport stream
which occurs when we use “dotnet restore” without any extra arguments. To fix this, we’d specify a nuget config file within the application root directory, like below:
<?xml version="1.0" encoding="utf-8"?>
<configuration>
  <packageSources>
    <add key="NuGet" value="https://api.nuget.org/v3/index.json" />
  </packageSources>
</configuration>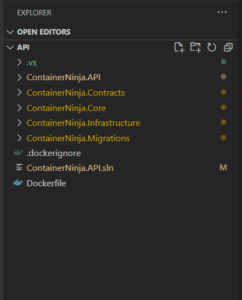
Additionally, we force the nuget to disable parallel downloads, by the flag –disable-parallel. These two extra parameters solve the error but can delay the restore process longer than usual.
dotnet restore --disable-parallel --configfile ./nuget.configIn the second build step, we fetch the binaries generated from previous step which is aliased as “build” denoted in the first instruction – FROM. This makes the docker runtime look for specified directory to copy from the “build” directory. Other steps are pretty much self explanatory.
# Step 2 - Continuing from the End of Step 1 #
# Second Stage - Pick an Image with only dotnetcore Runtime
# base is defined at the top of the script - mcr.microsoft.com/dotnet/aspnet:6.0
FROM base AS runtime


# Set the Directory as /app
# All consecutive operations happen under /app
WORKDIR /app


# Copy the dlls generated under /app/out of the previous step
# With alias build onto the current directory
# Which is /app in runtime
COPY --from=publish /app/publish .


# Set the Entrypoint for the Container
# Entrypoint is for executables (such as exe, dll)
# Which cannot be overriden by run command
# or docker-compose
ENTRYPOINT [ "dotnet", "ContainerNinja.API.dll" ]
The ENTRYPOINT in this case is different from the CMD instruction we generally use in Dockerfile . An ENTRYPOINT indicates that the specified binary is an executable (dll, exe as such) and makes sure that this startup command can’t be overriden in a docker run command.
How to build and run a container from a Dockerfile
Once we complete composing the Dockerfile, we have two ways to run it for creating the application container.
One the usual docker build and run commands, which goes as below.
docker build -t containerninjaapi . --no-cachedot (.) specifies the location of the Dockerfile.
parameter -t assigns a tag to the container image and –no-cache indicates no caching.
Generally we run the command in the same directory where the Dockerfile is present.
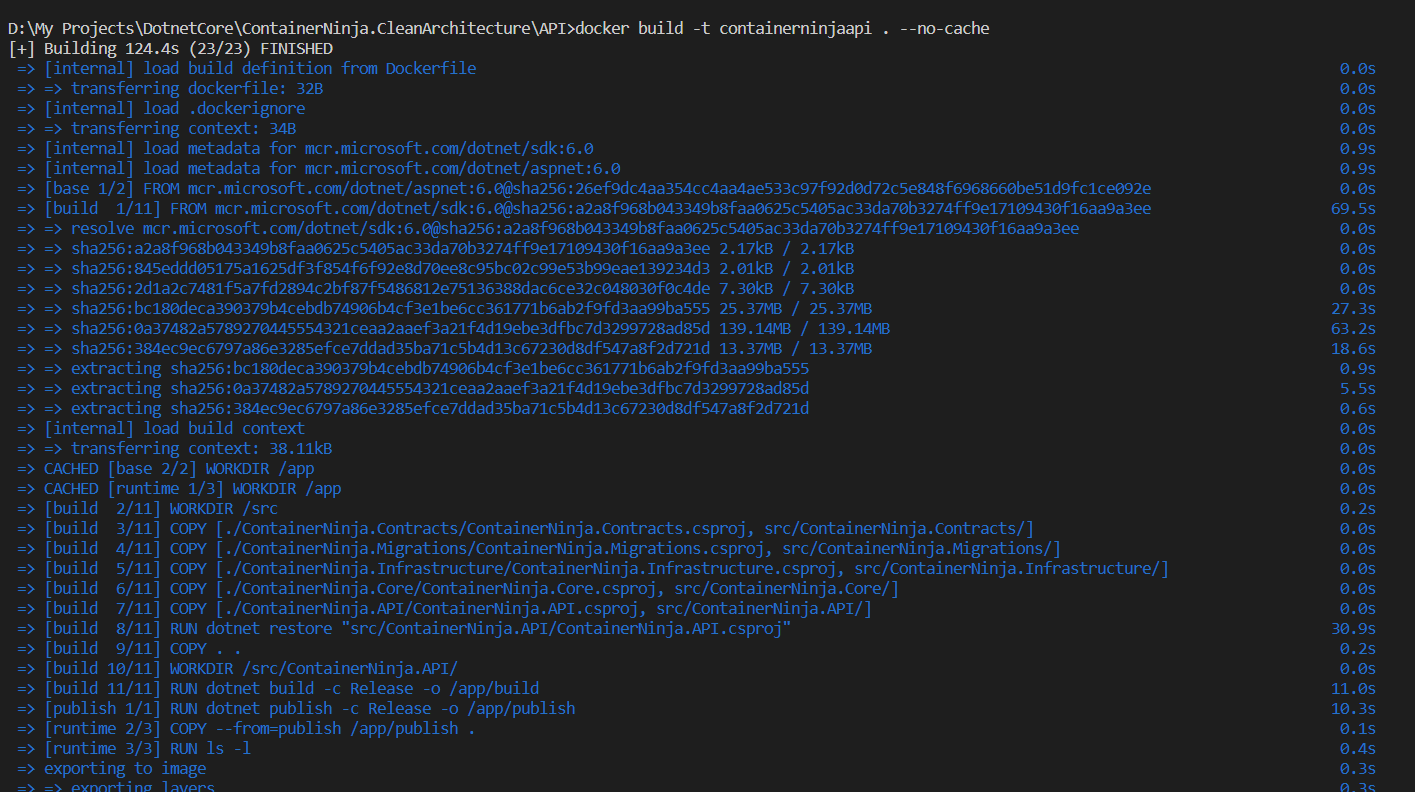
This builds a docker container for us. Then we run the created container as below.
docker run -p 5000:80 -t containerninjaapi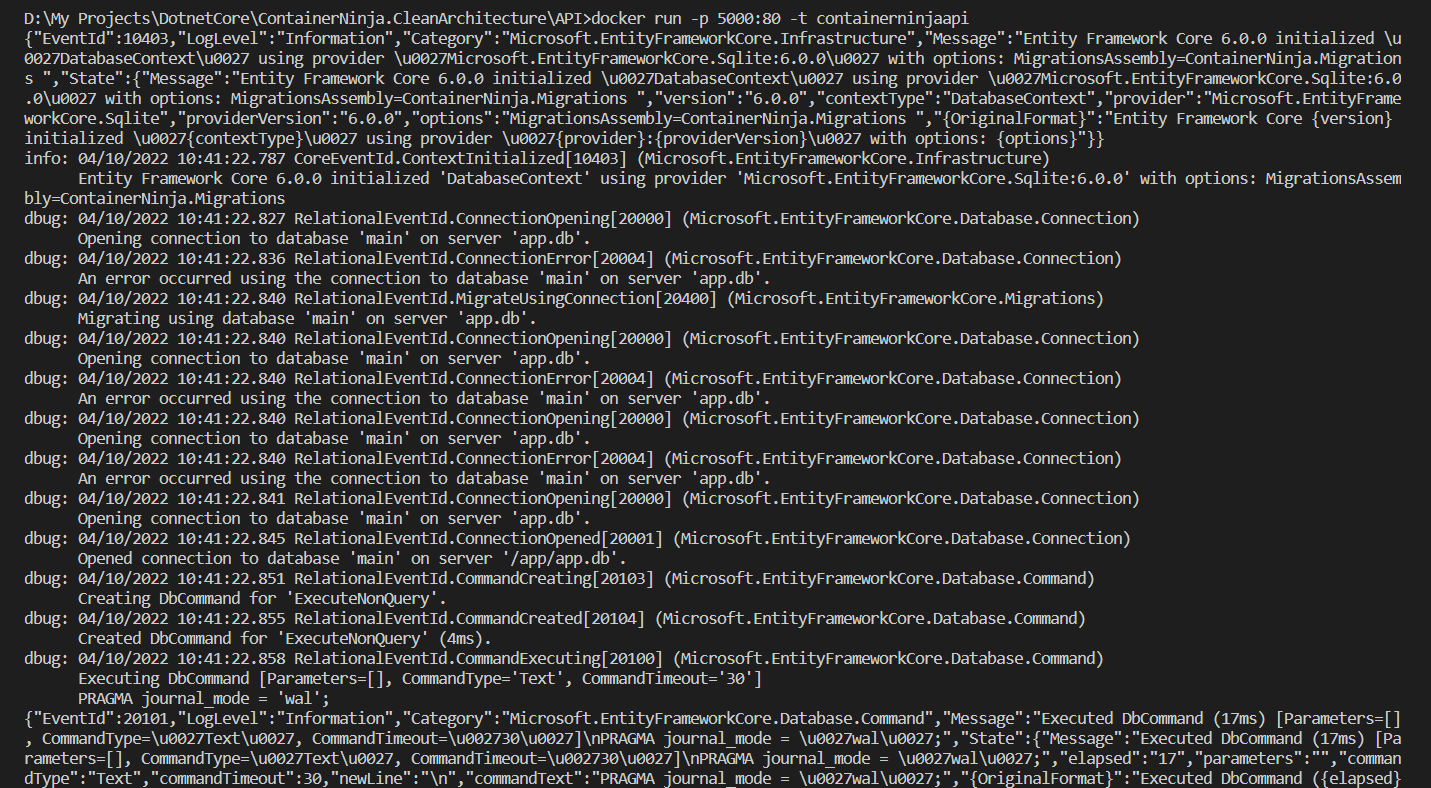
The other way is by means of a docker-compose file.
How to run a Container using Docker Compose
A Docker-Compose file is a yaml configuration file, which helps us in simplifying docker run command execution through a yaml script. In this script we specify all the parameters and configurations which otherwise need to be passed via the docker run command.
# docker-compose.yaml


version: "3"
services:
    api:
        build:
            context: ./API
            dockerfile: Dockerfile
        ports:
            - "5000:80"
And to finish things up, we’d run the below command which builds and runs a container with our application running within.
docker-compose upTip: When we’re running docker container with a port configuration, we might run into error as below:
"docker: Error response from daemon: Ports are not available: unable to list exposed ports: Get http://unix/forwards/list: open \.pipedockerBackendApiServer: The system cannot find the file specified"It seems that this error occurs when we’re not running the docker commands in elevated privileges.
To solve this we can just run our commands in a Command Prompt with administrator privileges or a sudo user. Or we can have the docker desktop run in administrator privileges.
Conclusion
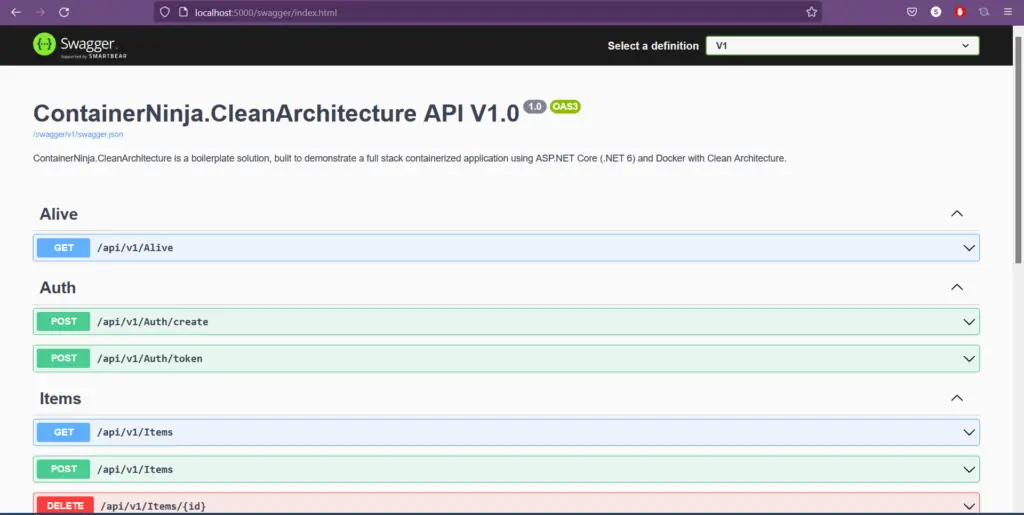
We can verify by navigating to http://localhost:5000/swagger in a web browser and can see that the Swagger loads with all the API definitions, which are a part of the boilerplate API project.

Found this article helpful? Please consider supporting!