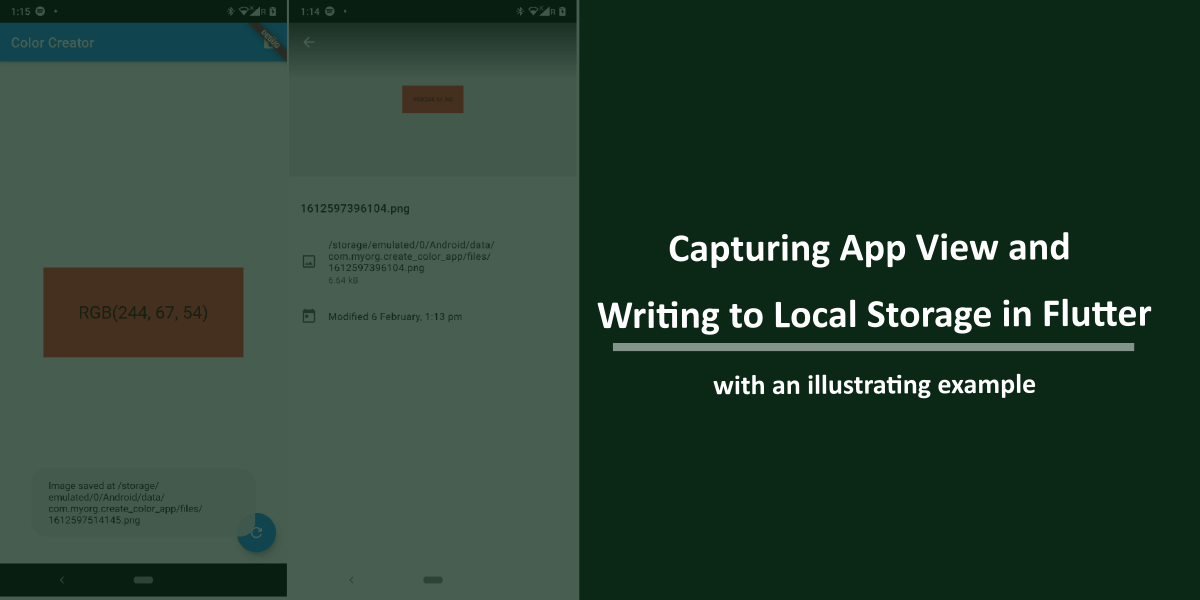
In this functionality-focused article, let’s look at how we can capture a part of the view inside a flutter app and then write the captured image to a local storage. By the end of this exercise, we’d be able to build an app that leverages both these functionalities. Just to mention that, since my primary device platform is Android, all this example and the sample code will be fully functional in an Android device (for now).
Understanding the Requirement:
"As an end-user, I want to be able to tap on a button to generate a random color, and on clicking the download button I want my application to save my screen with the color i chose to my local storage". This is what the requirement I got.
In this, I can see three particular functionalities to build:
- A screen with two buttons
- one button tap paints the screen with color
- on tapping another button the screen colored with the one I generated would be saved on to the local storage.
Building a mock Screen:
To get started, I want to first design my screen and see how it’d look like with a static content. I need two buttons here, so for a better user experience, I’d have a floatingActionButton that changes the screen color, and the save button sits on the AppBar as an action.
For starters, let’s create a new flutter application. I’d name it create_color_app.
> flutter create --org com.myorg create_color_app
I want my package name to be com.myorg.create_color_app and not the default com.example.create_color_app, so I pass in the –org argument.
Once I have my app created, I’d first remove the default page we get along with the boilerplate. Not that we can’t reuse it, but I just want to do everything from the scratch.
Overall, my screen would look somewhat like this:
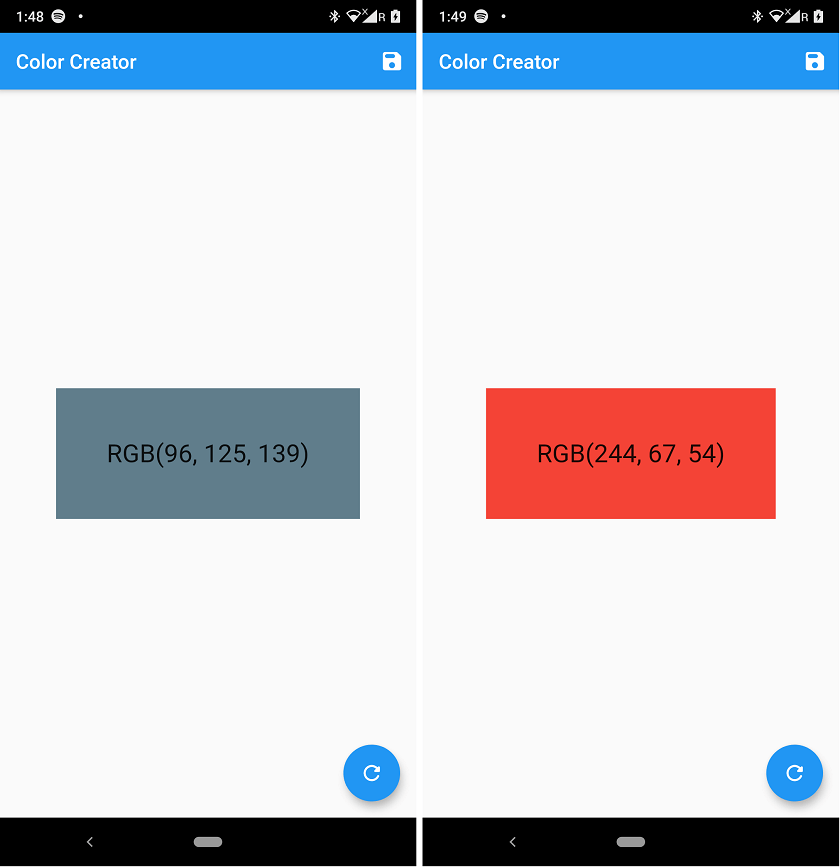
and is built like this:
class MyHomePage extends StatefulWidget {
  final String title;
  MyHomePage(this.title);
  @override
  State<StatefulWidget> createState() {
    return _MyHomePageState(title);
  }
}

class _MyHomePageState extends State<MyHomePage> {
  final String title;
  Color _color = Colors.blueGrey;
  _MyHomePageState(this.title);
  @override
  Widget build(BuildContext context) {
    return Scaffold(
      appBar: AppBar(
        title: Text(title),
        actions: [
          IconButton(
            icon: Icon(Icons.save_rounded),
            onPressed: () {
              print('save pressed, now should capture the screen.');
            },
          )
        ],
      ),
      body: Center(
        child: Column(
          mainAxisAlignment: MainAxisAlignment.center,
          children: [
            Container(
              decoration: BoxDecoration(color: _color),
              padding: EdgeInsets.all(50.0),
              margin: EdgeInsets.all(50.0),
              child: Text(
                'RGB(${_color.red}, ${_color.green}, ${_color.blue})',
                style: TextStyle(fontSize: 25.0),
              ),
            ),
          ],
        ),
      ),
      floatingActionButton: FloatingActionButton(
        child: Icon(Icons.refresh_rounded),
        onPressed: () {
          print('refresh tapped, should change color');
          setState(() {
            _color = Colors.red;
          });
        },
      ),
    );
  }
}
Observe that we now have a Stateful Page widget where you have a button on top right for "save" and a floating button that changes the "color" of the container placed at the center of the screen, while a text beneath the container tells you the color code of the color now set. We have the initial setup ready, and have also got the color changing part done (haven’t we?). Now comes the actual part, we should now somehow capture this container and the text beneath it and then save this section to our local storage.
Capturing Rendered Views – RepaintBoundary:
Technically, we just need to capture the rendered pixels of a part of the app view for our purpose. To do this, we use a Widget called RepaintBoundary. The logic is simple – we wrap the portion we’re interested to capture with a RepaintBoundary and then capture the portion inside this widget.
I’d now wrap the body portion of the Scaffold in the MyHomePage (_MyHomePageState) within a RepaintBoundary. It’d now look like below:
body: RepaintBoundary(
        key: _boundaryKey,
        child: Center(
          child: Column(
            mainAxisAlignment: MainAxisAlignment.center,
            children: [
              Container(
                decoration: BoxDecoration(color: _color),
                padding: EdgeInsets.all(50.0),
                margin: EdgeInsets.all(50.0),
                child: Text(
                  'RGB(${_color.red}, ${_color.green}, ${_color.blue})',
                  style: TextStyle(fontSize: 25.0),
                ),
              ),
            ],
          ),
        ),
      )
Notice that I’d also need to pass a key attribute to uniquely identify this boundary, so I create and pass a constant GlobalKey.
class _MyHomePageState extends State<MyHomePage> {
  final GlobalKey _boundaryKey = GlobalKey();
  final String title;
  Color _color = Colors.blueGrey;
  _MyHomePageState(this.title);
  @override
  Widget build(BuildContext context) {
	// all that Scaffold
  }
}
So far so good. Now within the button we have inside our AppBar, I’d pull the portion of the content that is wrapped under this RepaintBoundary using the key and then try to make an image out of it. The below code does the trick for us:
Future<void> _captureImage() async {
    RenderRepaintBoundary boundary =
        _boundaryKey.currentContext.findRenderObject();
    var image = await boundary.toImage();
    print(image.toByteData(format: ImageByteFormat.png));
}
we’d find the rendered boundary, using the findRenderObject() method and then call the toImage() method which returns an image made out of the rendered boundary. Just to verify, we’ll print the byte data obtained from this image object (which is purely optional and for our testing purpose).
Saving the Image to Storage
Now for the part B of our requirement – saving to local storage. To do this, let’s add a flutter package to our app, the path_provider plugin. This package provides us with two important methods, which we’d try to understand when to use what.
dependencies:
  flutter:
    sdk: flutter
  path_provider: ^1.6.27
Generally, we have two kinds of storage options provided by the path_provider library: The ApplicationDocumentsDirectory – which is basically a place the app stores files that the user can’t access.
On the other hand, we have the ExternalStorageDirectory, where the files can be viewed by the user. In Android, This one stores it in the internal storage (don’t know why still this is called ExternalStorageDirectory, phew), under the path /emulated/0/Android/data/:app_package_name/files and you can store it under this directory.
In our case, first let’s try saving the file inside the ExternalStorageDirectory (I mean the Internal Storage under data) and see how the saved image looks like. In the _saveImage() method, we add another few lines of code to write this Image file to the storage.
Future<String> _captureImage() async {
    RenderRepaintBoundary boundary =
        _boundaryKey.currentContext.findRenderObject();
    var image = await boundary.toImage();

    // get the directory to write the file
    var directory = await getExternalStorageDirectory();

    // prepare the file path
    var filePath =
        '${directory.path}/${DateTime.now().millisecondsSinceEpoch}.png';

    // extract bytes from the image
    ByteData byteData = await image.toByteData(format: ImageByteFormat.png);
    Uint8List pngBytes = byteData.buffer.asUint8List();

    // openwrite a File with the specified path
    File imgFile = new File(filePath);

    // write the image bytes to the file
    imgFile.writeAsBytes(pngBytes);

    // return the created file
    return filePath;
  }
Finally, to invoke this functionality we need to call this method from inside our Save button on the AppBar. For that, we’d add this call to the onPressed event handler we already have and just place a toast to let users know that its now saved.
Scaffold(
      appBar: AppBar(
        title: Text(title),
        actions: [
          IconButton(
            icon: Icon(Icons.save_rounded),
            onPressed: () async {
              print('save pressed, now should capture the screen.');
              var path = await _captureImage();
              Fluttertoast.showToast(
                  msg: 'Image saved at $path', toastLength: Toast.LENGTH_LONG);
            },
          )
        ],
      ),
      body: RepaintBoundary(
	// magic happens here
      ),
);
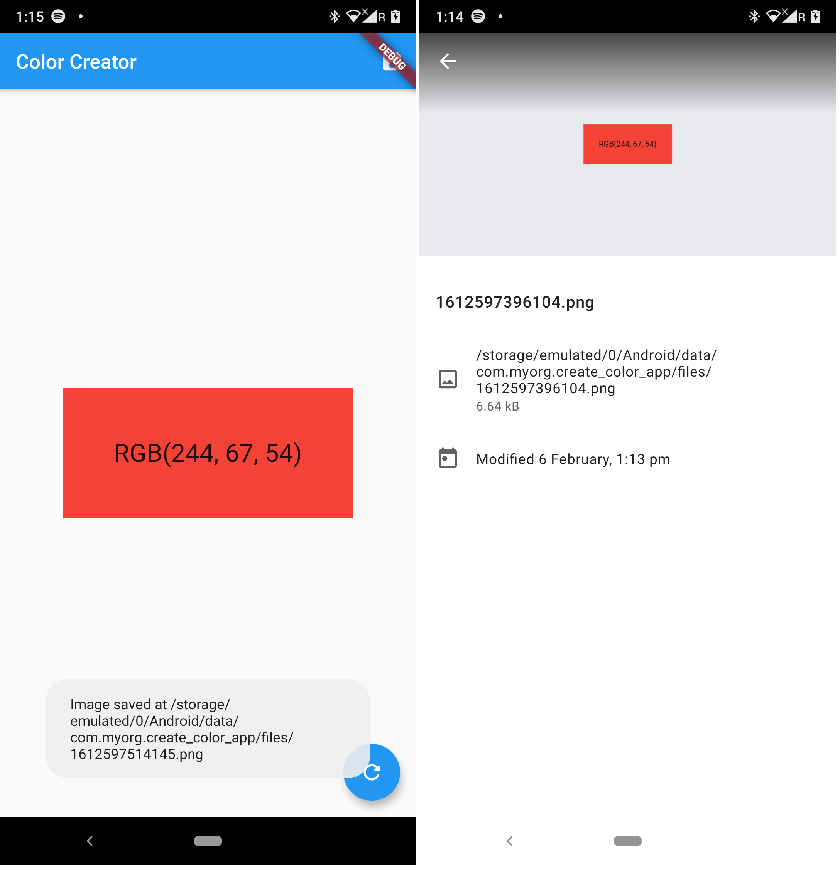
The app now works like this:
Keep in mind that, for the Fluttertoast we’d need another flutter package which we include in the pubspec like we did for the path_provider plugin. The pubspec dependencies now look like this:
dependencies:
  flutter:
    sdk: flutter
  path_provider: ^1.6.27
  fluttertoast: ^7.1.6
So far so good. But the problem is that, I don’t want this to be saved inside such an arbitary place. Instead, I need this one to be saved inside a proper Directory (such as Pictures?). How do I do that? Let’s look at that in the next article!
Source code is available here: https://github.com/referbruv/flutter-create-color-app/
For all the UI designers and developers who’re looking for a simple utility to create and test colors and combinations for their next awesome apps – here’s a simple app for you, which is completely ad-free and is free! check it out here

Found this article helpful? Please consider supporting!