Automation Servers are system nodes which perform predefined actions repetitively as a result of an event trigger or a periodic instruction with minimal or no manual intervention. And in the age of rapid application development cycles and agile way of developing application versions which happen at short intervals, testing and deploying app changes onto test or staging environments through manual interventions is a big pain. And Automation servers are created for same purpose, to automate a work for a trigger. Once configured with necessary inputs and trigger sources, these servers handle all the instructions; be it build, test, deploy or all the three without any need for a monitor with added provisions for detailed logs and stats in case if anything fails. And we shall look into setting up one such automation server which is also one of the most widely used tools in the market – jenkins.
Jenkins is an open-source automation tool developed in Java. It can be used to set up an automation server node and offers a variety of configurations and features by means of plugins which are developed and served by respective providers. And since it is open-source, it is one of the most widely used automation tools in the market. Let’s look at how we can setup a Jenkins automation server using Jenkins. Since Jenkins is written in Java, which is by itself a platform independent runtime, jenkins can be installed and run on any OS platform such as windows, linux or mac. And Jenkins can also be used as a container service via docker or an Azure app service setup implicitly.
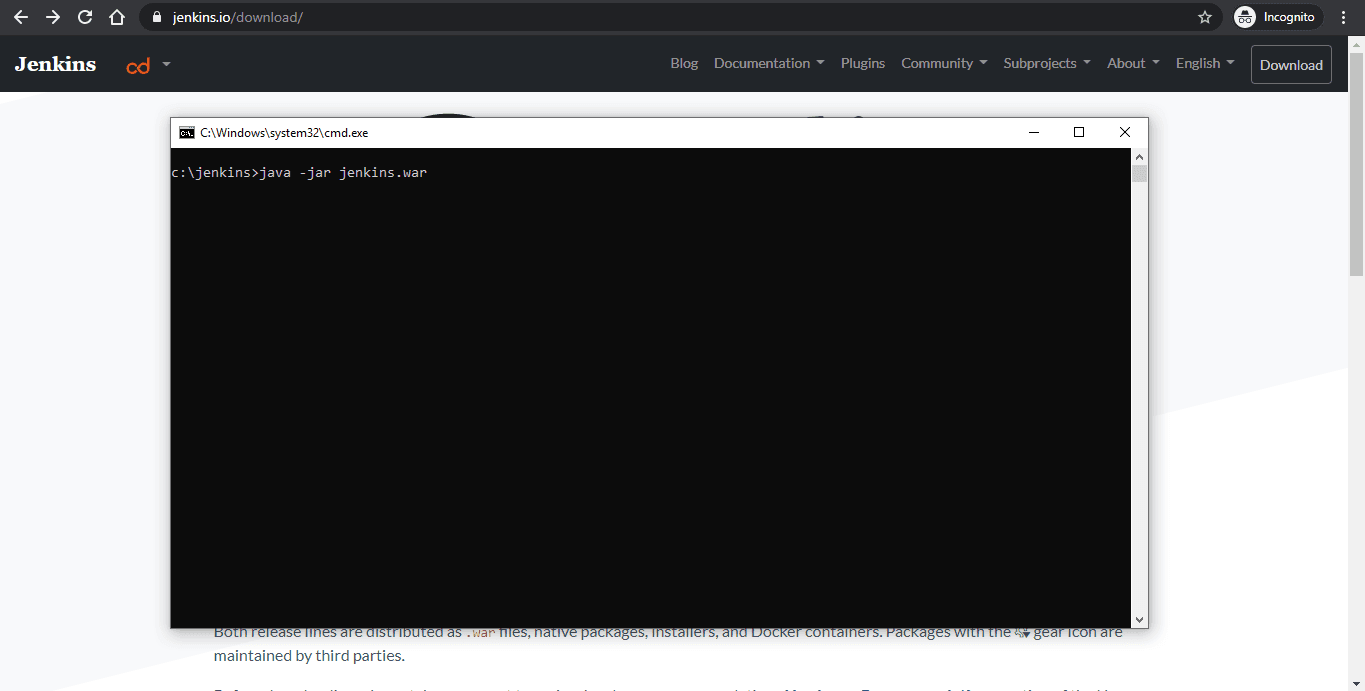
In this article, I choose the war file to be downloaded since the approach can be pretty much straight forward and same across all platforms. I go to the downloads page and select the war option (which is at the bottom of the options available in any OS platform). Link: https://jenkins.io/download/

Once downloaded, I copy the war file onto a folder jenkins in my local disk. And then I open a command prompt (or a terminal for Linux or Mac) and type the below command, which will start the jenkins server for us:
/> java -jar jenkins.war
The war file contains all the setup instructions which shall start to be executed and then we goto the default jenkins url http://localhost:8080 which shall ask for a secret passcode generated and available under the path shown in the screen.

When we enter the passcode, its authenticated and then we are prompted with to choose to install all the plugins or to select the ones to be installed. I click on the install all plugins which then starts to get downloaded and installed.


It can take sometime depending on the internet connectivity, and once done we shall be taken to the user account setup screen where we shall give the admin user account and password for login. And once this is done, we click on finish and are redirected to the home page.
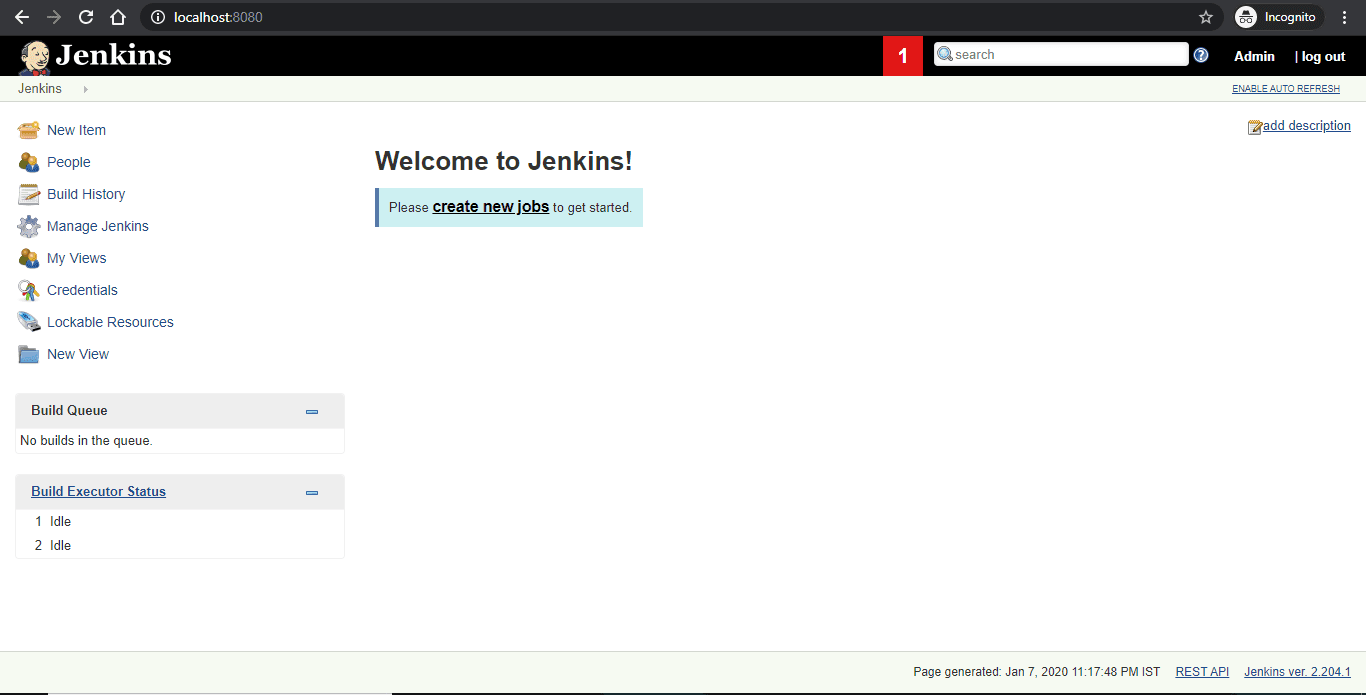
On the left sidebar, we have the option to create a new job. In jenkins, a job is a task containing a set of instructions which shall be executed automatically upon a specified trigger for action: be it a timer, or a request, or a git checkin. In any scenario, the job starts to execute the instructions or commands placed and once the execution is finished, that particular build iteration is marked as successful (blue), failure (red) or partial (yellow). And we can look at the build log for that particular build which can be helpful in case of any troubleshooting or analysis.
Let’s start by creating a sample job. Click on Create new Job option and select Freestyle project in the template options. A Freestyle project is the simplest and most customizable project wherein all the instructions for build, test or deploy are given in the form of shell commands (most suitable for projects or technologies which support CLI). A job can be divided into three sections: Pre-build configuration, task instructions and Post-build configurations. In Pre-build we setup how the code on which the task runs is fetched from a source (for example a local source or a git repository) and also setup how the build shall happen (say like for how it needs to trigger, when it needs to trigger and what shall be the pre-processing steps). In the Post-build configuration we setup what needs to be done once the build is completed (say like sending reports, uploading the build executables generated, send mails and so on).
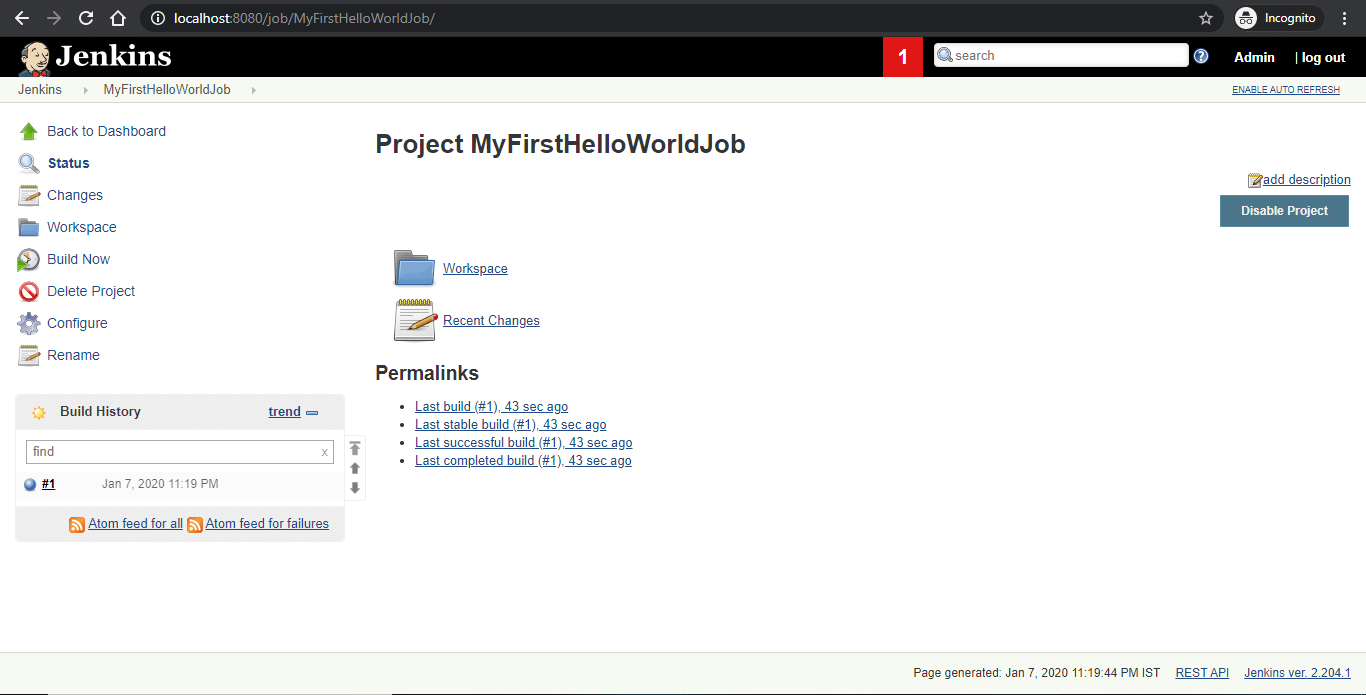
Once job is created, we’re taken to the job homepage. Here we click on Configure to configure the build.
In this example, let’s just add a simple command that prints “hello world” on the screen. And let’s say this build should trigger periodically and whenever a link is clicked. For this we shall setup the triggers as below.

We indicate “H * * * *” which means that the build shall run for every one hour. And by giving a trigger token, we can invoke a build by clicking on the link remotely whenever required by passing the token.
<JENKINS_URL>/job/<JOB_NAME>/build?token=<TOKEN_VALUE>
Next, under Build we click on create new build step, and select a windows batch command (a shell command for linux or mac systems) which will open a terminal for us. All we write is terminal commands which run on a command prompt in windows or terminal in Linux or Mac. I type
echo "Hello World"
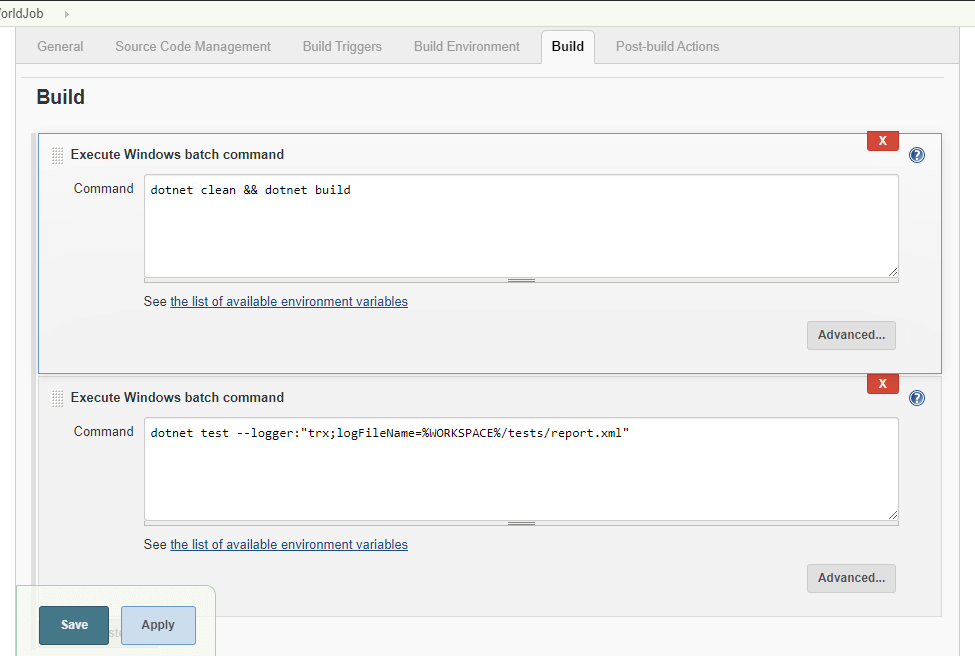
which shall print hello world whenever the build is executed. And then I save the job. Now I can test the job by clicking on the Build Now option, which shall the build once and then verify the automation by clicking on the link along with the token (as configured) or checking on the build screens for every hour. In either the case we can observe the build would be triggered on both the events.
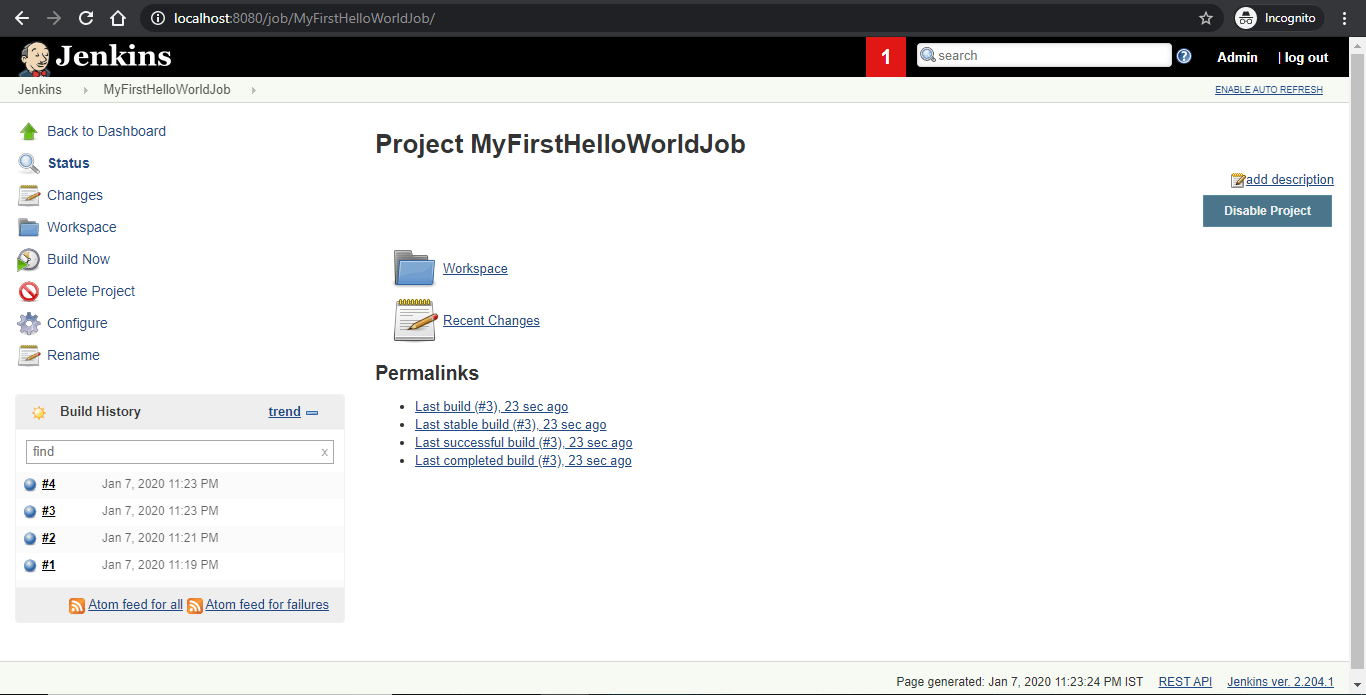
In this way we setup and build our first Job in Jenkins. We shall see how we can fetch a sample codebase from a repository such as git and automate build in the next article.

