Referbruv
become a better programmer, one step everyday!
Algorithms Angular ASP.NET Core ASP.NET Core For Beginners ASP.NET MVC Authentication Authorization AWS Azure Behavioral Patterns C# Concepts Caching Cloud Concepts Cognito Creational Patterns Days at the Morisaki Bookshop Design Patterns Docker DynamoDB EF Core ETag Experiences Express Flutter gRPC Guest Posts IdentityServer4 Integration Testing Java Concepts Javascript Jenkins JWT Kafka Kubernetes Loops NCache NDepend NodeJS OOP REST API Satoshi Yagisawa Social Logins with ASP.NET Core SOLID Principles Special Numbers Spring Boot SQL Swagger Unit Testing Upgrade to .NET Core 3.x xUnit
Latest Posts
- Understanding SOLID – Dependency Inversion Principle
- Understanding SOLID – Interface Segregation Principle
- Understanding SOLID – Liskov Substitution Principle
- Understanding SOLID – Open/Closed Principle
- Understanding SOLID – Single Responsibility Principle
- How to Work with Bean Scopes in Spring Boot Applications
Why take all the pain in building a solution, when you have the boilerplates ready? Customized for specific use cases and scenarios, these help you get started quickly while maintaining the best practices and standards.

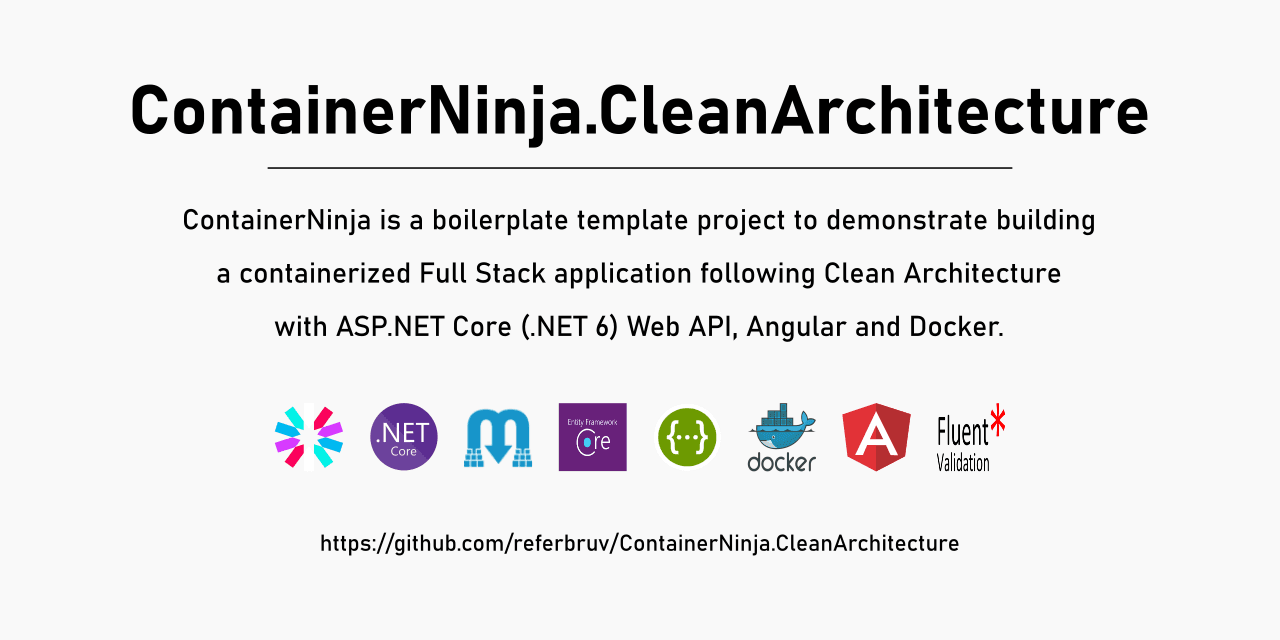
ContainerNinja.CleanArchitecture
an awesome boilerplate solution
to quickly get started with ASP.NET Core

CqrsNinja
CQRS Ninja is a boilerplate solution, built to demonstrate implementing CQRS in ASP.NET Core (.NET 6) via MediatR.


