
Introduction
API Documentation is one of the important parts of developing a RESTful Service. API documentation helps us understand what the API expects as a request and the possible outputs it can provide, which helps us in consuming the service into our applications the right way.
The OpenAPI specification was previously known as the Swagger specification. It is the market standard that we generally use for developing API documentation.
Swagger UI is a visual tool that creates a UI on top of the OpenAPI specification, using which clients can test the RESTful services without having to write any implementation logic. It is automatically generated from the OpenAPI specification for the service.
In this article, let us see how we can implement SwaggerUI and OpenAPI specification for a simple Spring Boot 3 API.
Demonstrating with an Example – Swagger Heroes API
To demonstrate, I have created a simple Spring Boot project using the Spring Initializer – https://start.spring.io
Here I’m picking up a few dependencies and I have my project use maven for management.

Once created, I’ll have my project as below –
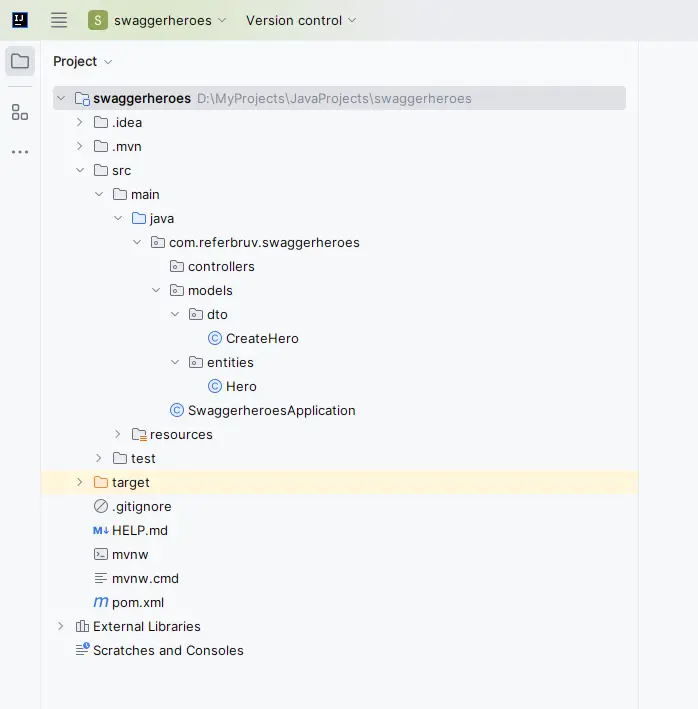
Here I have created a couple of classes and folders – controllers, models folders contain classes I’m using for interacting and persisting data in the backend. I’m using a simple H2 Database, which is an in-memory database that helps us simulate database calls easily.
Integrating Persistence with Spring JPA
This service works on a single entity called Hero, and I’ll create a simple CRUD operation endpoints using which we can create, edit, delete or retrieve Heroes from the database.
My entity class looks like below –
package com.referbruv.swaggerheroes.models.entities;

import java.sql.Date;

import jakarta.persistence.*;
import org.hibernate.annotations.CreationTimestamp;

import lombok.Data;

@Data
@Entity(name = "hero")
@Table(name = "hero")
public class Hero {

    @Id
    @GeneratedValue(strategy = GenerationType.AUTO)
    private int heroId;

    private String name;
    private String bio;

    @CreationTimestamp
    @Column(name = "created_date")
    private Date createdDate;

    @CreationTimestamp
    @Column(name = "updated_date")
    private Date updatedDate;

    public Hero(String name, String bio) {
        this.setName(name);
        this.setBio(bio);
    }

    // default constructor
    // for JPA fetch operation
    public Hero() {}
}
I’ll add a Repository layer that uses this Entity class to interact with the database. I’m using JPA to do this, as I have added the necessary dependency before in the project.
<dependency>
<groupId>org.springframework.boot</groupId>
<artifactId>spring-boot-starter-data-jpa</artifactId>
</dependency>
The dependency and the repository look as below –
package com.referbruv.swaggerheroes.repositories;

import com.referbruv.swaggerheroes.models.entities.Hero;
import org.springframework.data.jpa.repository.JpaRepository;
import org.springframework.stereotype.Repository;

@Repository
public interface HeroRepository extends JpaRepository<Hero, Integer> { }
I’ll have a controller class called HeroesController where I have written the endpoints for the CRUD operations. The controller receives an instance of this repository and uses it to perform the functionality.
Ideally this should have been moved to a service layer – but I’m just writing here to keep things simple.
package com.referbruv.swaggerheroes.controllers;

import com.referbruv.swaggerheroes.models.dto.CreateHero;
import com.referbruv.swaggerheroes.models.entities.Hero;
import com.referbruv.swaggerheroes.repositories.HeroRepository;
import lombok.AllArgsConstructor;
import org.springframework.http.ResponseEntity;
import org.springframework.web.bind.annotation.*;

import java.util.List;

@RestController
@AllArgsConstructor
@RequestMapping("/api/heroes")
public class HeroesController {
    private HeroRepository repository;

    @GetMapping("")
    public ResponseEntity<List<Hero>> getAllHeroes() {
        var heroes = repository.findAll();
        return ResponseEntity.ok(heroes);
    }

    @GetMapping("{id}")
    public ResponseEntity<Hero> findHero(@PathVariable("id") int heroId) {
        var hero = repository.findById(heroId);
        if(!hero.isPresent()) return ResponseEntity.notFound().build();
        var entity = hero.get();
        return ResponseEntity.ok(entity);
    }

    @PostMapping("")
    public ResponseEntity<Integer> createHero(@RequestBody CreateHero model) {
        var hero = repository.saveAndFlush(new Hero(model.getName(), model.getBio()));
        return ResponseEntity.ok(hero.getHeroId());
    }

    @PutMapping("{id}")
    public ResponseEntity<Integer> updateHero(@PathVariable("id") int heroId, @RequestBody CreateHero model) {
        var hero = repository.findById(heroId);
        if(!hero.isPresent()) return ResponseEntity.notFound().build();
        var entity = hero.get();
        entity.setName(model.getName());
        entity.setBio(model.getBio());
        repository.saveAndFlush(entity);
        return ResponseEntity.ok(entity.getHeroId());
    }

    @DeleteMapping
    public ResponseEntity deleteHero(@PathVariable("{id}") int heroId) {
        var hero = repository.findById(heroId);
        if(!hero.isPresent()) return ResponseEntity.notFound().build();
        var entity = hero.get();
        repository.delete(entity);
        repository.flush();
        return ResponseEntity.ok().build();
    }
}
As I mentioned before, we will use a H2 Database, which is a simple in-memory test database that we can use to test database interactions. The necessary package was added during initialization, this is as below –
<dependency>
<groupId>com.h2database</groupId>
<artifactId>h2</artifactId>
<scope>runtime</scope>
</dependency>
The JPA configuration to connect to this database is as below – I’ve mentioned this in the application.properties file
spring.datasource.url=jdbc:h2:mem:heroesdb
spring.datasource.driverClassName=org.h2.Driver
spring.datasource.username=sa
spring.datasource.password=password
spring.jpa.database-platform=org.hibernate.dialect.H2Dialect
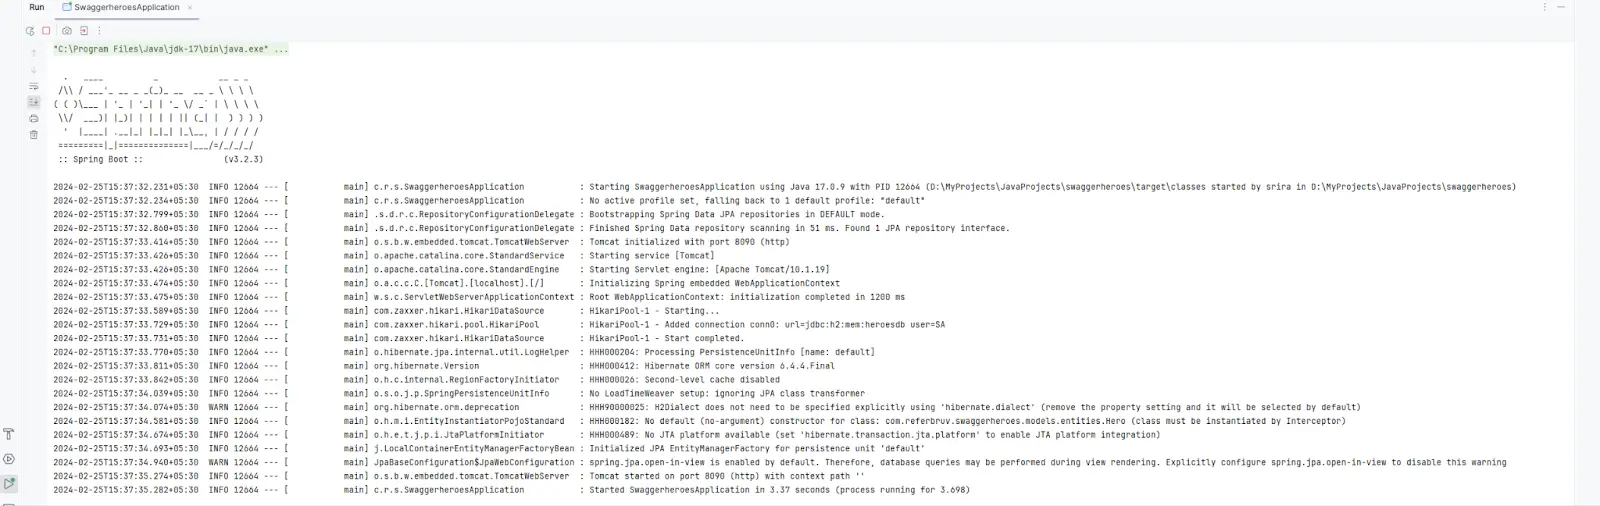
server.port=8090When I run this application, it runs as expected with JPA successfully connecting to the H2 test database.
Integrating Swagger UI with Spring Boot 3
Until Swagger 2 or older versions of Spring Boot, integrating involved several configurations and different packages.
In this article, we’re going to use Swagger 3 packages – to do this, I’ll just add the following dependency –
<dependency>
   <groupId>org.springdoc</groupId>
   <artifactId>springdoc-openapi-starter-webmvc-ui</artifactId>
   <version>2.3.0</version>
</dependency>
This installs all the necessary dependencies for Swagger implementation – this involves springdoc-openapi-starter-webmvc-api, swagger-ui and other necessary packages.
Once done, I’ll add a bean class for the Swagger UI that loads Swagger UI with defined specifications.
package com.referbruv.swaggerheroes.config;
import io.swagger.v3.oas.annotations.OpenAPIDefinition;
import io.swagger.v3.oas.models.OpenAPI;
import io.swagger.v3.oas.models.info.Info;
import org.springframework.context.annotation.Bean;
import org.springframework.context.annotation.Configuration;
@Configuration
@OpenAPIDefinition()
public class SwaggerConfig {
@Bean
public OpenAPI swaggerApiConfig() {
var info = new Info()
.title("Heroes API")
.description("Spring Boot Project to demonstrate SwaggerUI integration")
.version("1.0");
return new OpenAPI().info(info);
}
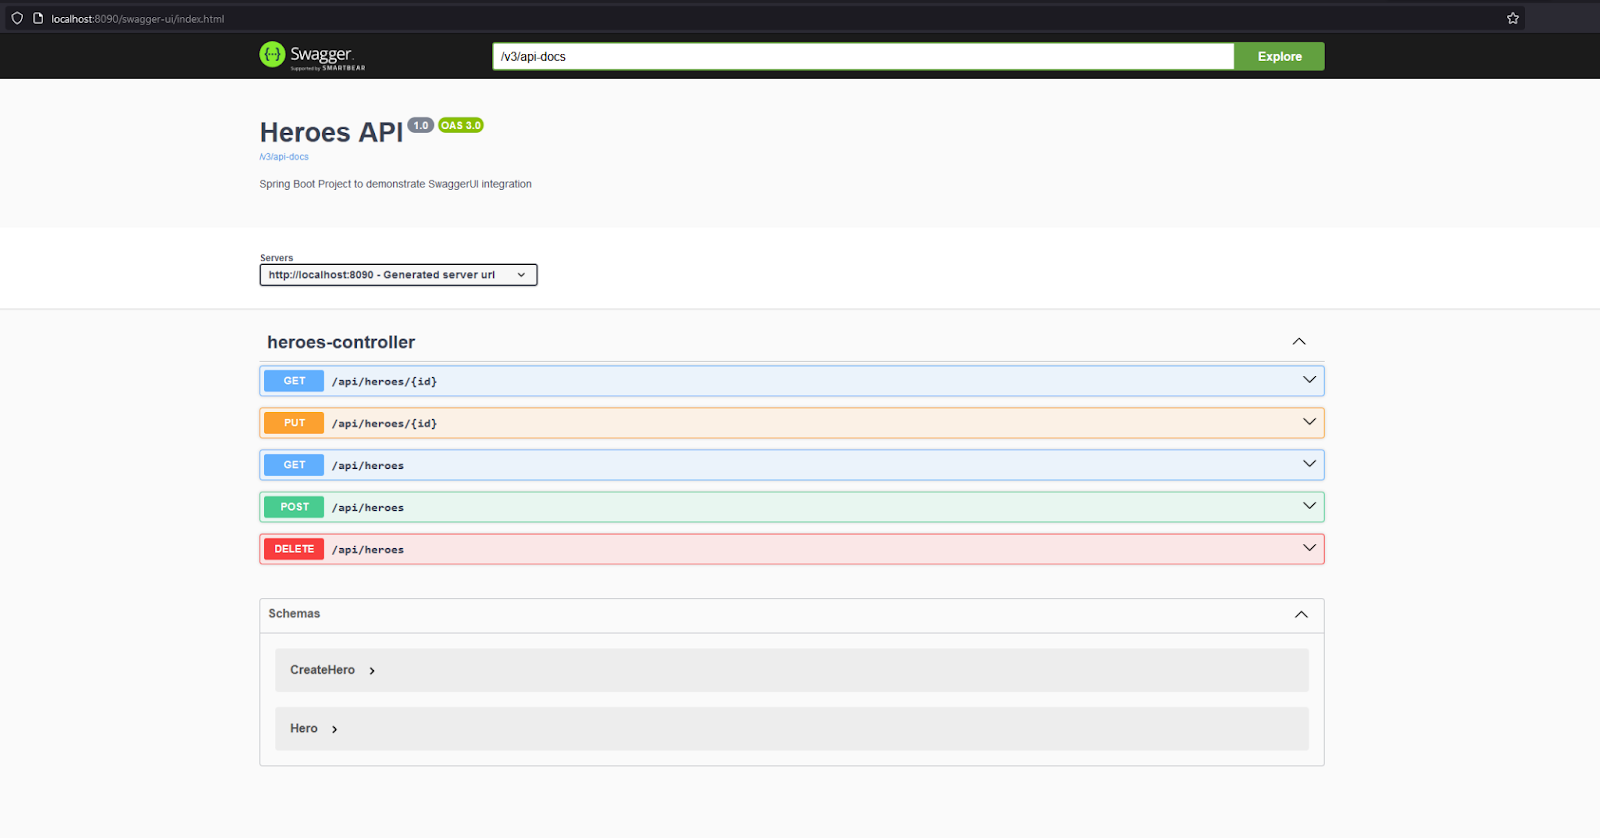
}That’s all! When I run this application and navigate to /swagger-ui/inex.html, I can see the Swagger UI that loads all the endpoints under HeroesController I have defined.
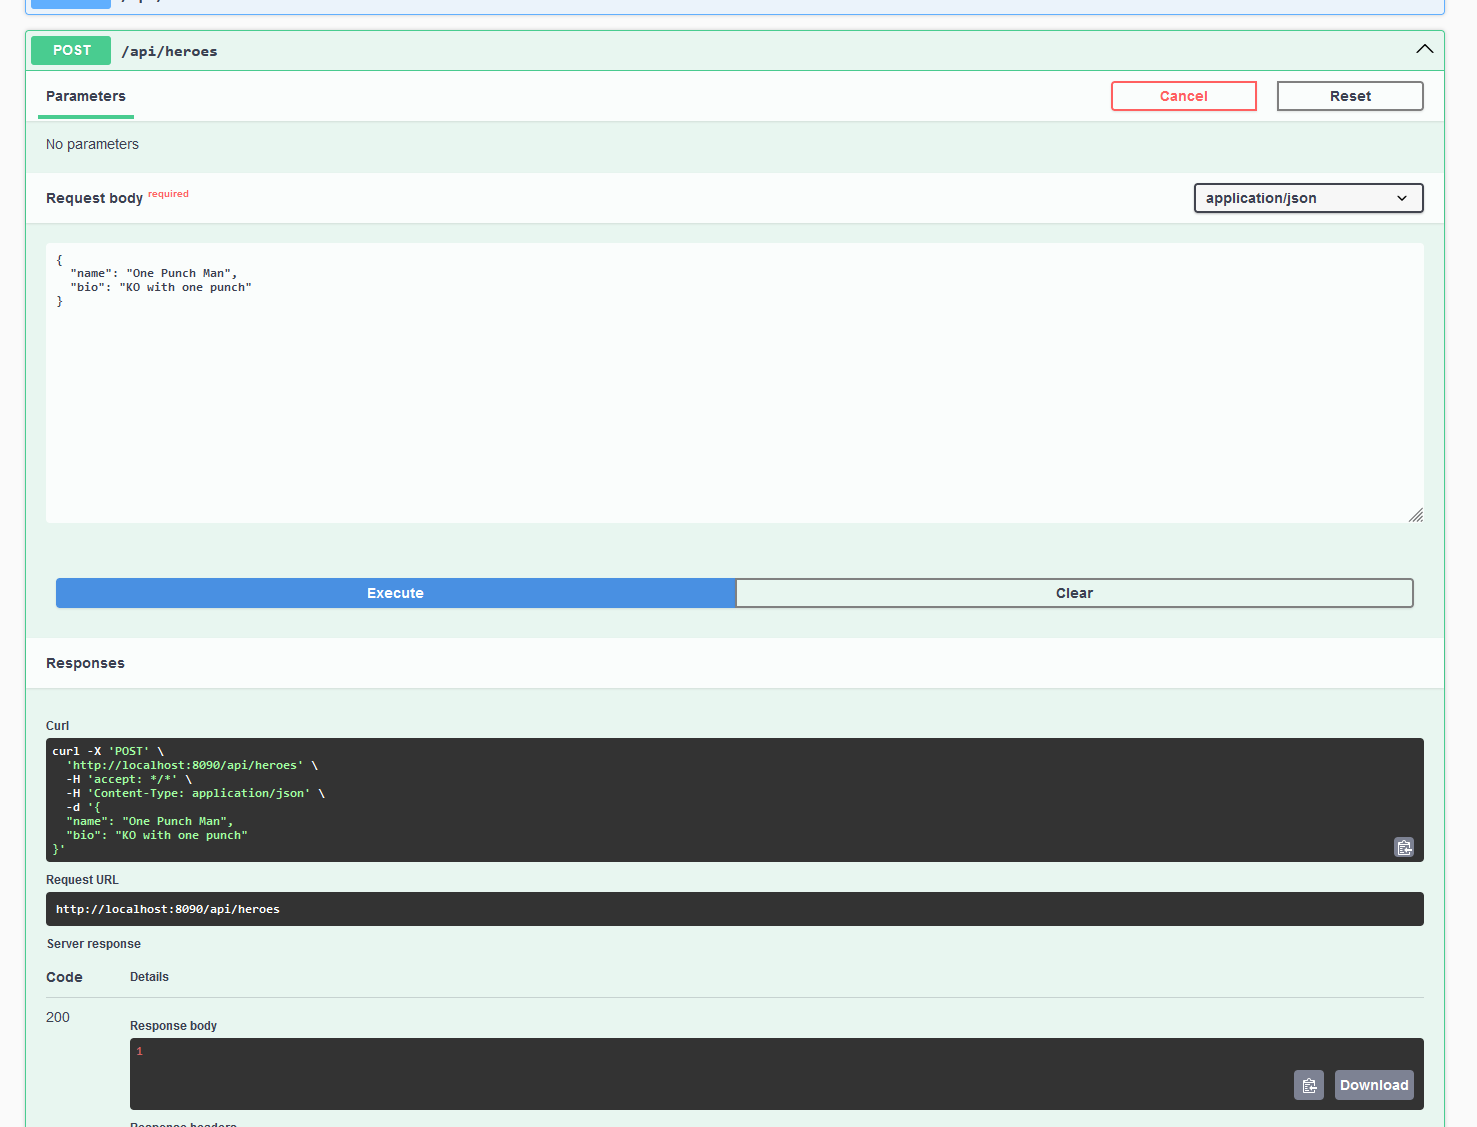
I can even test creating a new Hero, by using the POST endpoint –
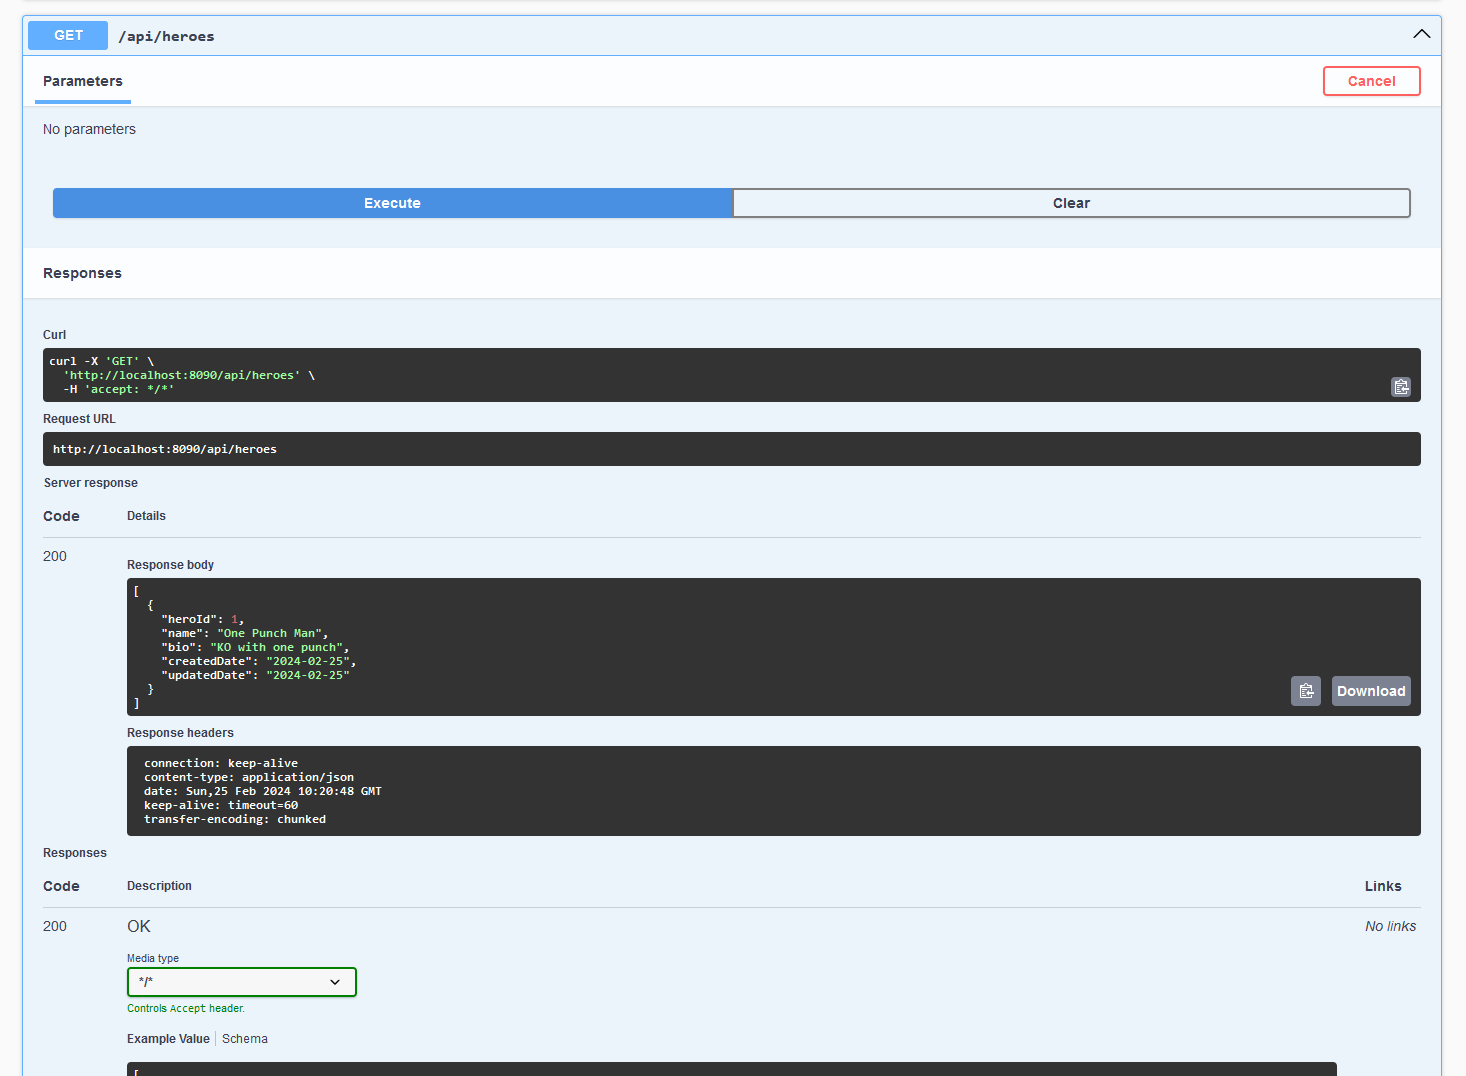
I can further verify the GET endpoint by calling the fetch all API and it returns the created Hero –
Advanced – JWT Token integration with Swagger UI
Generally we secure our RESTful endpoints using a JWT token security, where one can access an API only by passing a valid JWT token to the API in the request headers. In this Swagger UI we don’t generally tweak the Request Headers on the UI itself. So how do we add a provision to pass a token to the API via Swagger UI ?
Simple.
We can modify the Swagger Configuration bean to incorporate a JWT token. The configuration now looks like below –
package com.referbruv.swaggerheroes.config;

import io.swagger.v3.oas.annotations.OpenAPIDefinition;
import io.swagger.v3.oas.annotations.security.SecurityRequirement;
import io.swagger.v3.oas.models.Components;
import io.swagger.v3.oas.models.OpenAPI;
import io.swagger.v3.oas.models.info.Info;
import io.swagger.v3.oas.models.security.SecurityScheme;
import org.springframework.context.annotation.Bean;
import org.springframework.context.annotation.Configuration;

@Configuration
@OpenAPIDefinition(security = {@SecurityRequirement(name = "bearer-key")})
public class SwaggerConfig {
   @Bean
   public OpenAPI swaggerApiConfig() {
       var info = new Info()
               .title("Heroes API")
               .description("Spring Boot Project to demonstrate SwaggerUI integration")
               .version("1.0");

       var components = new Components()
               .addSecuritySchemes("bearer-key", new SecurityScheme()
                       .type(SecurityScheme.Type.HTTP)
                       .scheme("bearer")
                       .bearerFormat("JWT"));
       return new OpenAPI().components(components).info(info);
   }
}
Here I’m adding another component – a security component to the OpenAPI specification, where I’m specifying the kind of security scheme, what to expect and how it is passed.
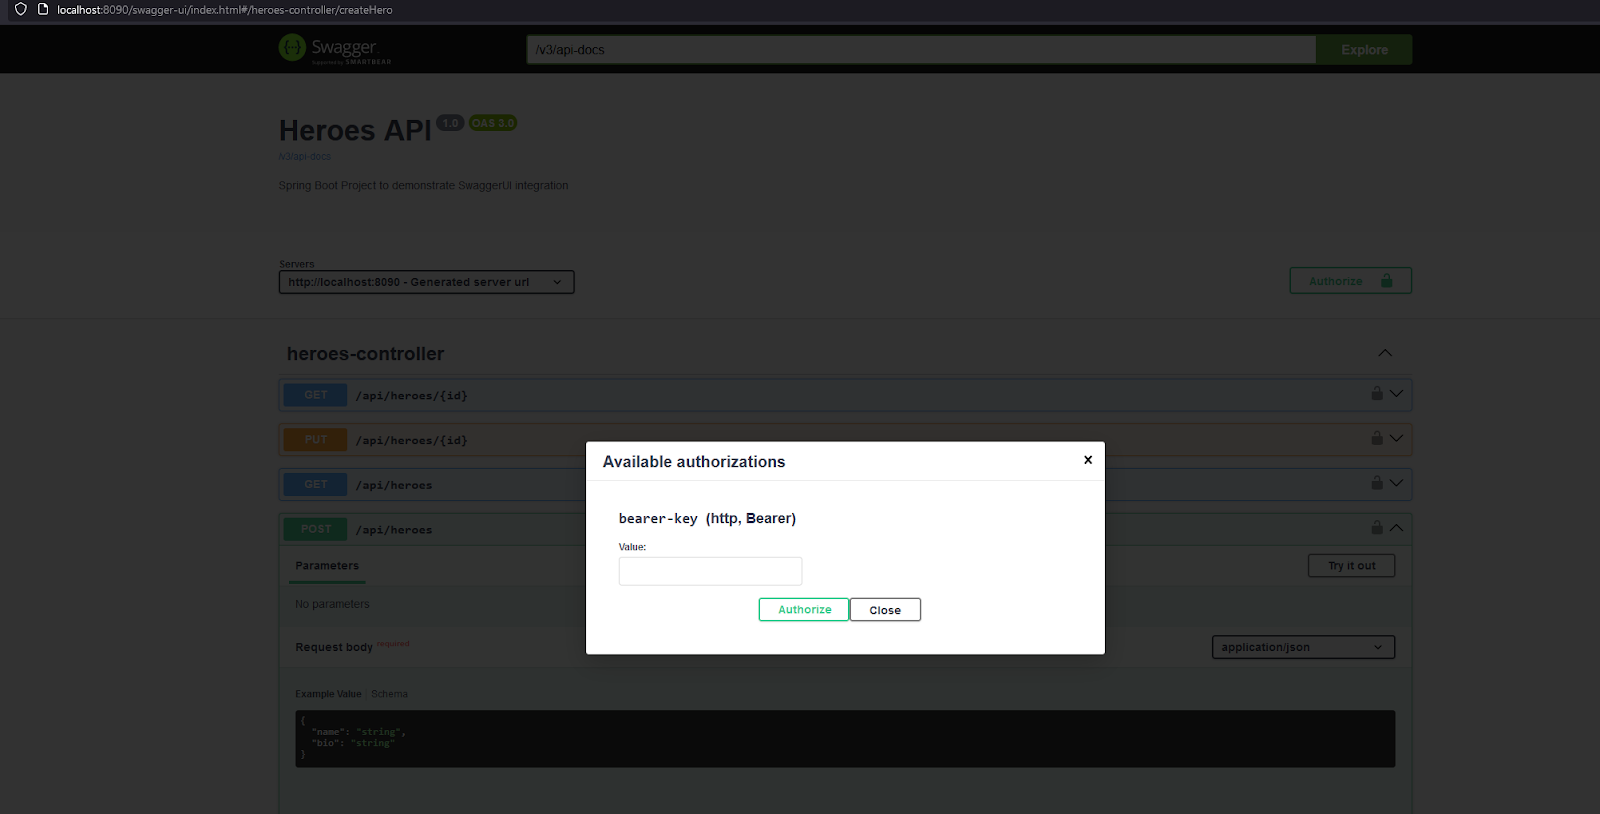
Once we run this application, we can see a new button appear on the Swagger UI – “Authorize” with a lock symbol.
When I click on the button, I can now add a token and click on login. This will ensure that the passed token is passed as a request header for all the APIs.
Conclusion
In this article, we have discussed what is an OpenAPI specification and how it helps us understand the functionality of an API better – as an API documentation. We have also seen how Swagger UI helps us automatically generate a visual UI for testing the APIs without having to understand the underlying OpenAPI specification.
We have seen how to integrate this Swagger UI to a Spring Boot 3 API that performs simple CRUD operations over an Entity “Hero”. We have also seen how we can use JPA and H2 Database to create simple persistence to the database without having to write any database logic.
Finally, we have also looked at how we can pass a JWT token via Swagger UI and what changes need to be done for the Spring Boot API.
The source code used in this project is available in this repository – https://github.com/referbruv/springboot-swaggerui-example

