Table of Contents
Introduction
In this series of articles, we have been looking at how we can implement Social Logins in an ASP.NET Core MVC application that relies on a Cookie based authentication.
So far we have created a login module along with the necessary endpoints to have users authenticated with specific authentication providers and create users within the application for further use.
The module is ready to be integrated with any login provider with a ClientID and ClientSecret to get things running.
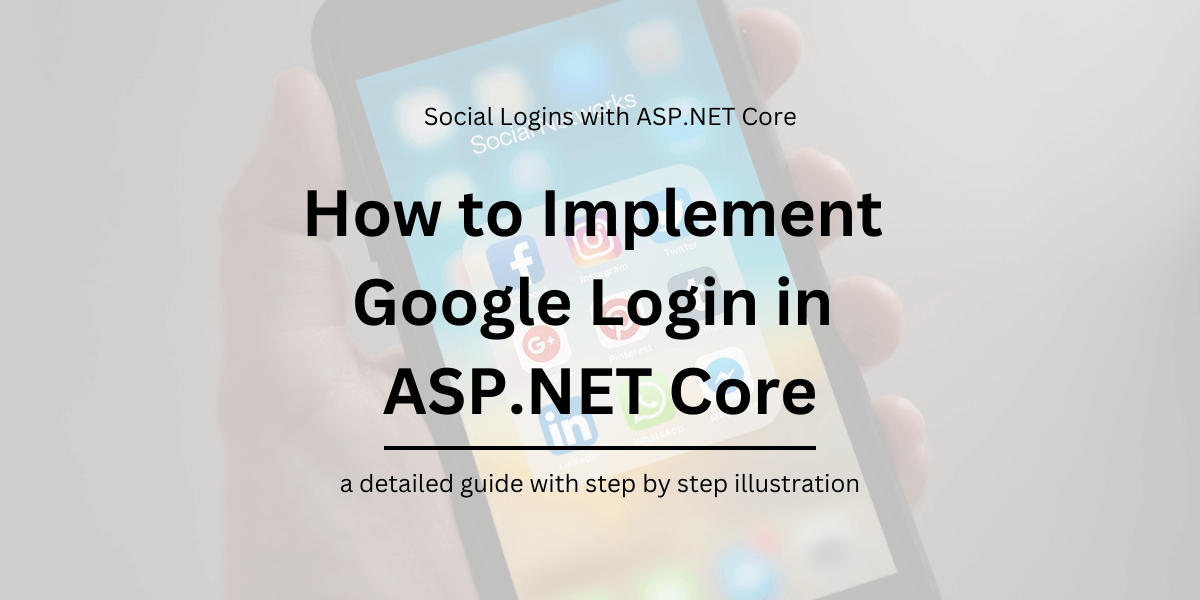
In the previous article, we saw how we can integrate the login module with Facebook. In this article, we will look into how we can integrate the created login module with Google login.
Users are redirected to Google Signin when they click on login and be redirected back to the application to create a profile and store the created profile in the database.
How to implement Google Login in ASP.NET Core (.NET 6)
How to create a Google Application in Developer Console & generate ClientID Secret
Any social login provider authenticating users over OAuth would require us to first create an application in their developer console to obtain a clientId and clientSecret, which we’ll use in configuring the middleware. We have seen a similar process while working on Facebook Login as well.
This is because all the popular Social Login providers are built on the OAuth2 standard.
The clientId and clientSecret helps the login provider to understand which application is requesting for the authenticated user’s profile to provide user security.
These providers also present the user with a consent screen for agreeing to exchange user’s data with the requesting application which in this case is our web application along with information about what our application would receive from the user’s profile stored in the provider.
To create an application, we’d go to console.developers.google.com and then create an application for us to get started.
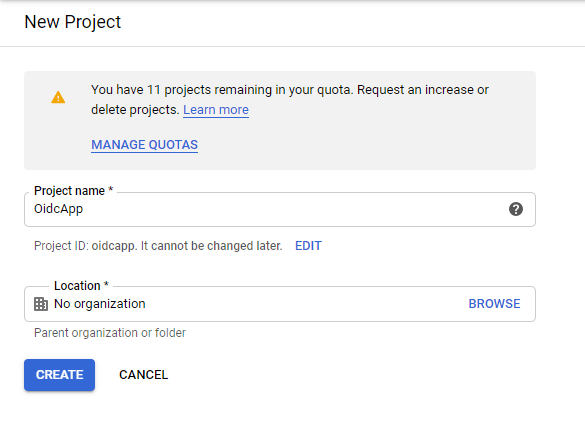
Log into https://console.developers.google.com and click on Create Project.
A New Project window opens up, enter the App name and other details and click on create.
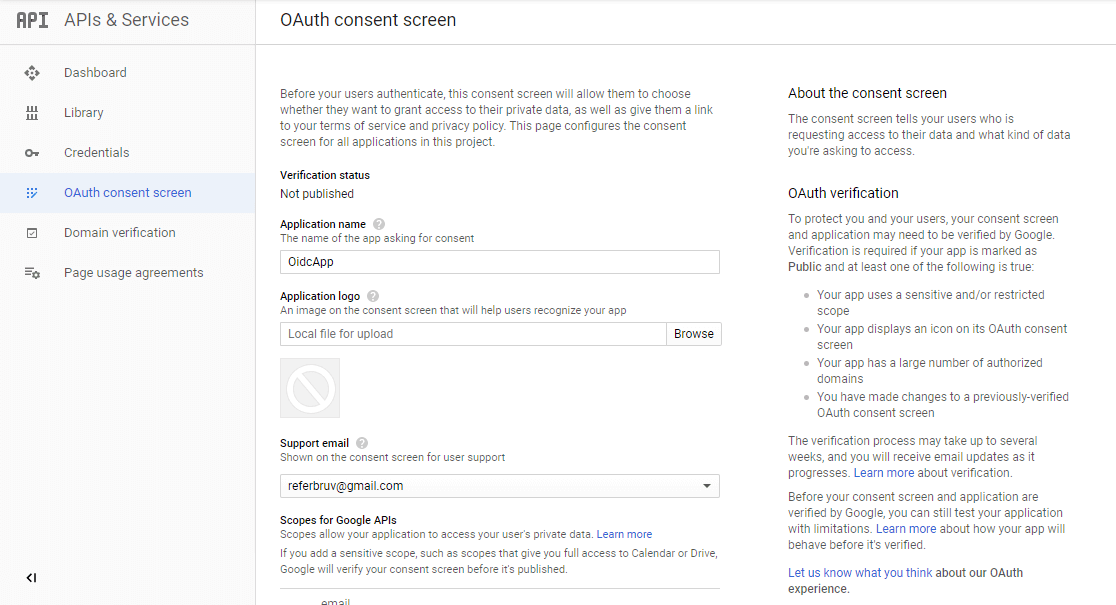
Once created, select the Configure Consent Screen option in the left panel, this is where we configure what information will be shown to the user when login using their Google credentials.
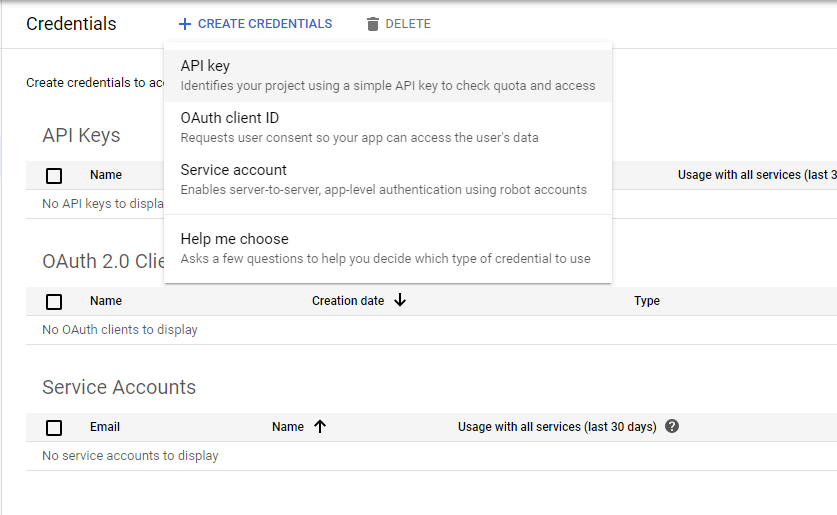
Once this is completed, click on Credentials and then Create Credentials. Since we’re doing an OAuth login, click on OAuth Client ID. On the screen, fill in the details such as AppName and others.
Under the Redirect Urls, enter https://localhost:5001/signin-google, which is where the redirection happens. Once done, click on Save and you have a popup showing the ClientId and ClientSecret.
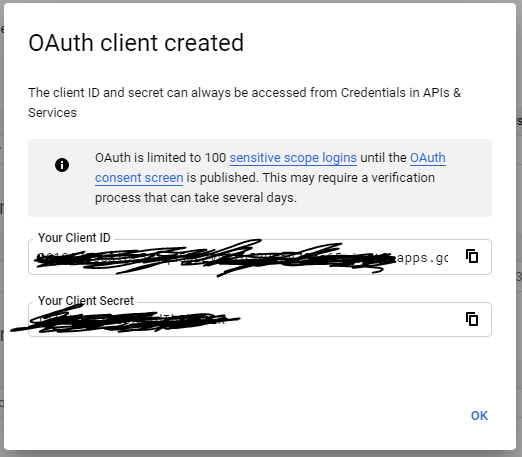
Copy these values and we’re good to go to the next step.
Install Authentication.Google package in .NET Project
Once we’re done with obtaining clientId and clientSecret, integrating the provider onto our login module is simple. We’d need to install the Authentication module for AspNetCore which provides google authentication middleware.
dotnet add package Microsoft.AspNetCore.Authentication.GoogleOnce this is installed, we can next add an authentication middleware to our application pipeline which does the needful.
Add Authentication middleware to ASP.NET Core Pipeline
In the ConfigureSevices() method, we’d add an authentication service to our service pipeline and then hookup the Google middleware to be called whenever requested for authentication.
public class Startup
{
    // other code


    public void ConfigureServices(IServiceCollection services)
    {
        // other services registered


        var oidcProviders = new OidcProviders();
        Configuration.Bind("Oidc", oidcProviders);


        // we'll use the oidcProviders later
        services.AddSingleton(oidcProviders);


        var provider = oidcProviders.Where(x => x.ProviderName == "google");
        var builder = services.AddAuthentication(options =>
        {
            options.DefaultScheme = SocialAuthenticationDefaults.AuthenticationScheme;
            options.DefaultSignInScheme = SocialAuthenticationDefaults.AuthenticationScheme;
        })
        .AddCookie(SocialAuthenticationDefaults.AuthenticationScheme);


        builder.AddGoogle(options =>
        {
            options.SaveTokens = true;
            options.ClientId = provider.ClientId;
            options.ClientSecret = provider.ClientSecret;
            options.Events.OnTicketReceived = (context) =>
            {
                Console.WriteLine(context.HttpContext.User);
                return Task.CompletedTask;
            };
            options.Events.OnCreatingTicket = (context) =>
            {
                Console.WriteLine(context.Identity);
                return Task.CompletedTask;
            };
        });


    }
}
Modifying Login action and Handling Callback for Google Login
Back in our login action where we’re creating a ChallengeResult() for an input provider, we’d modify the code a bit to use the Facebook scheme for invoking the middleware we configured in the step before.
public class UserController : Controller
{
// other endpoint methods
[HttpGet, Route("[controller]/ExternalLogin")]
public IActionResult ExternalLogin(string returnUrl, string provider = "google")
{
string authenticationScheme = string.Empty;
// Logic to select the authenticationScheme
// which specifies which LoginProvider to use
// comes in here
authenticationScheme = GoogleDefaults.AuthenticationScheme;
var auth = new AuthenticationProperties
{
RedirectUri = Url.Action(nameof(LoginCallback), new { provider, returnUrl })
};
return new ChallengeResult(authenticationScheme, auth);
}
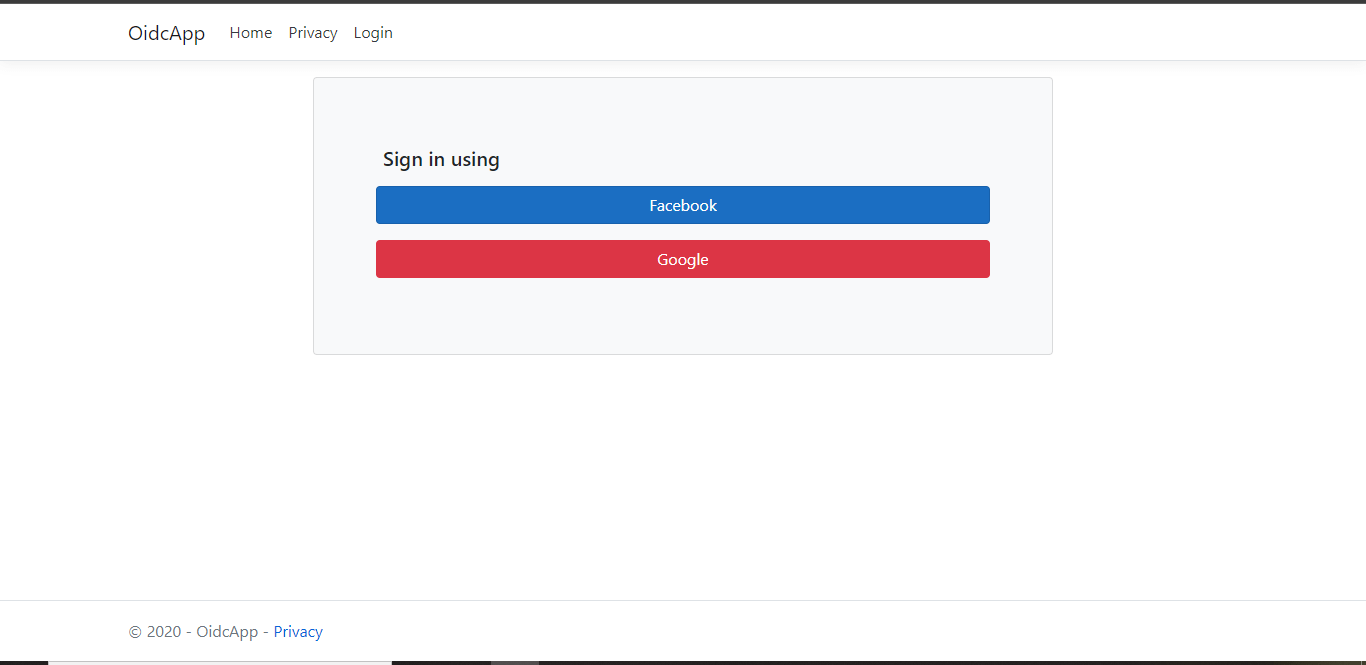
}Also, in our View for Login, let’s add one button to invoke this endpoint.
<div class="col-lg-12 p-2">
    <a target="_self" href="~/user/ExternalLogin?provider=google" class="btn btn-block btn-primary">
        <span class="icon-google"></span> Google
    </a>
</div>
Testing Pieces together for Functionality
Now we’ve joined all the dots together and have the necessary logic in place for authentication, let’s run this build and see for ourselves how this works.
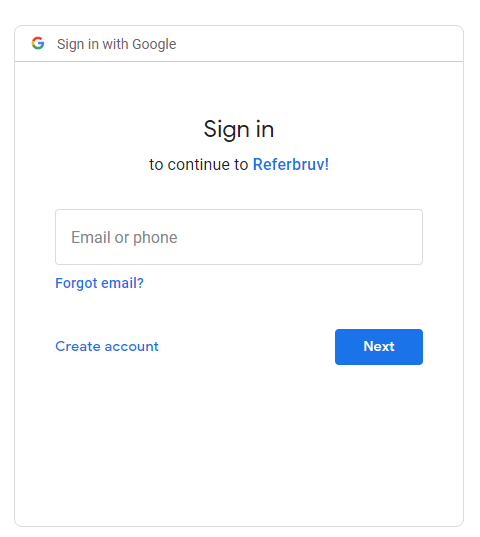
When we click on the Google Signin button above, the /user/externallogin action will be called, which returns a ChallengeResult() onto the Google middleware.
This results in a redirection to Google login page where the user enters login credentials.
The validation happens at the Google end itself, and once the login is successful Google returns back an authorization code which is captured and processed within the middleware itself and the redirection happens to the Callback endpoint we also passed with the ChallengeResult().
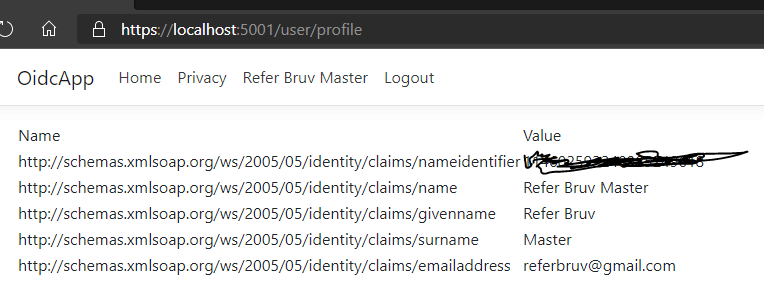
In the LoginCallback endpoint, we Authenticate against the AuthenticationScheme we defined for social login, and set up the auth cookie.
Next, we read the necessary claims from the Identity setup by the middleware and use it to create a user profile in the database for later use.
Within the UserRepository where the domain logic happens, we can optionally call userManager.SignIn() with additional parameters (in our case we pass the created db primary key for later use) which will be set to create a new identity profile.
Finally, this identity setup within the application can be used to provide users with application related functionalities without having for the application to worry about user authentication and validation since it’s now delegated to the identity provider.
When a user would want to sign out, we’d call SignOut endpoint on the UserController which internally removes the auth cookie from the browser thereby removing user login session.
How it works in Action
Conclusion
We have discussed how to implement Facebook login and now we have looked into how we can add a Google Login for user authentication in ASP.NET Core.
We can combine these two auth flows into a single component so as to provide a multi-login experience to the user.

Found this article helpful? Please consider supporting!