So far we have installed and configured a jenkins automation server in a server machine, and we have linked up a Git repository in order to automatically fetch code from the repository whenever a build is triggered. Since jenkins comes up with support for git based builds as a built-in feature, we hadn’t used any additional plugins while configuring the repository.
Now that we have the server ready and repository linked up, next step ahead would be to pull code from the repository for a specified event – say like a timer, or a code commit or even a manual trigger, and run the build commands on the pulled code within the automation server.
When we break down our goal into individual tasks, we end up in three steps to implement:
- Setup the git credentials in the Jenkins credential store
- Configure Job to use git for codebase
- Run the commands which shall be used to build the fetched codebase
Setup the git credentials in the Jenkins credential store
Obvious as it may seem, we would need to add our Git credentials to the credential store. This is because since there wouldn’t be any manual intervention during build and so to access our private repository in this case from Git, we would need to configure our Git credentials as well as repository details before hand. Jenkins maintains credentials from various plugins (such as Git, SMTP when mail is configured, deployment FTP credentials for the environments and so on) which are used in various job under a secure credential store. We can just change the credentials at one place and refer to the store at all places whenever required.
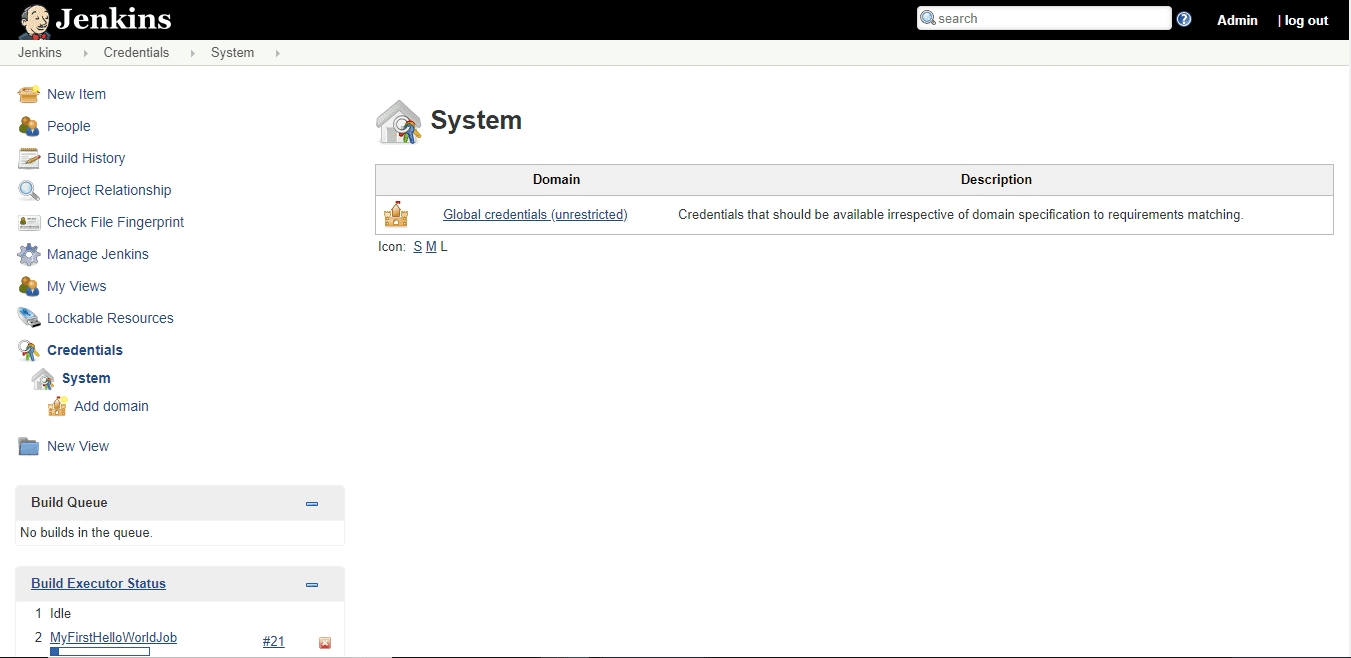
To configure credentials, navigate to the jenkins homepage and clicking on the Credentials link in the left menu.
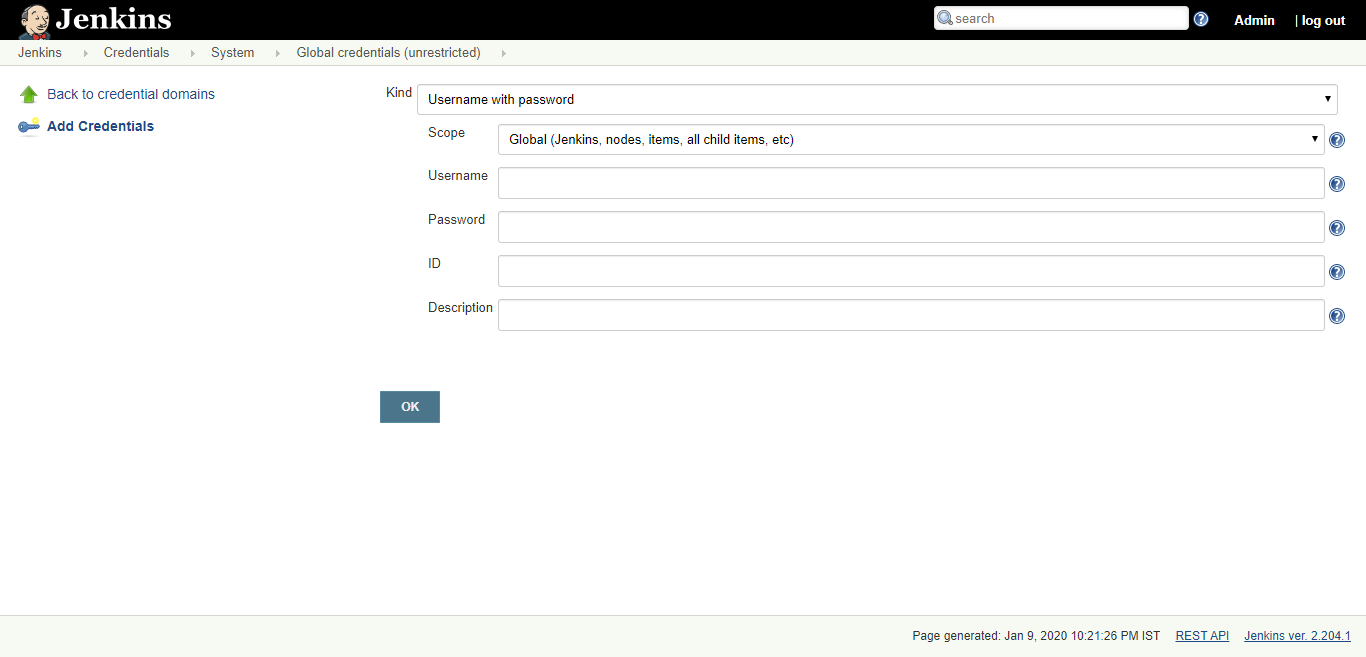
Click on Jenkins under the Credentials stores and then click on Global Credentials. This way, the credentials we store shall be available across all the jobs and menus in the jenkins server. Click on “Add Credentials” in the left hand menu and select the Kind “Username and Password”. Since github issues a username and password for its private repositories, this one is the simplest.

Type in the username and password and leave the ID (which shall be auto generated by the system) and Description empty. We’ve now created a credentials entry and thus the step one is complete.
Configure Job to use git for Codebase
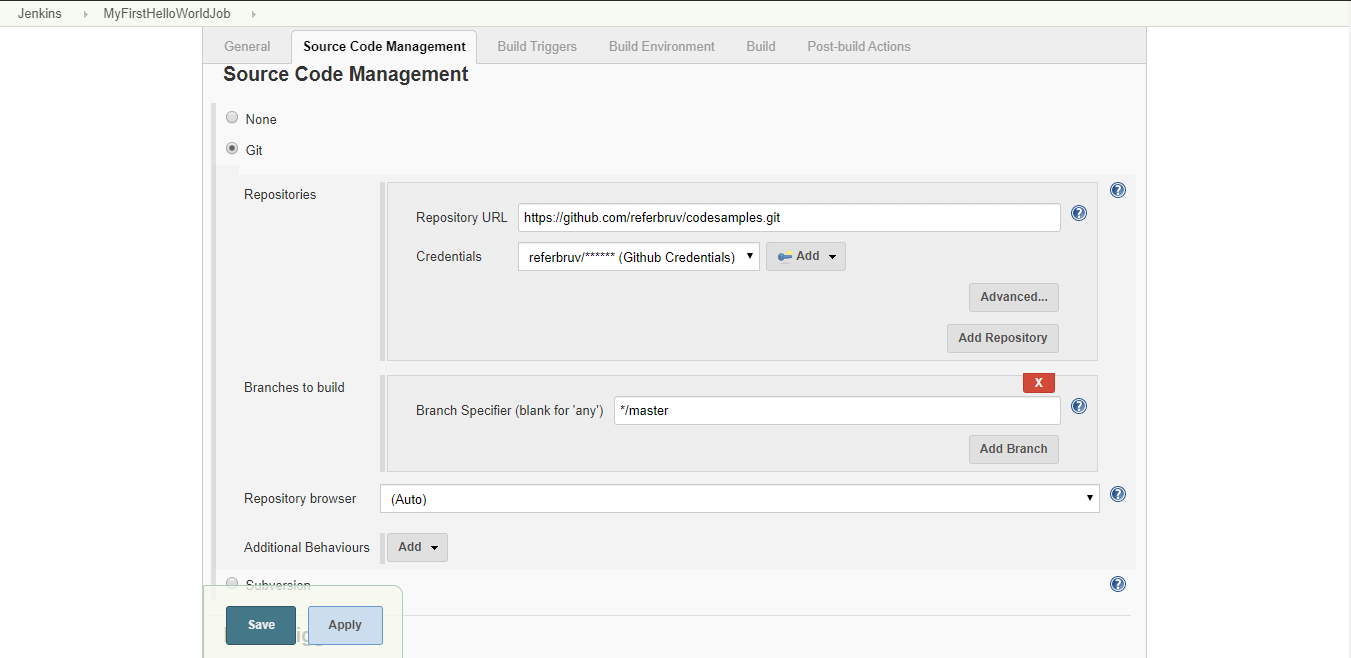
In the second step, we shall modify the job we created previously to fetch and use the git repository for processing. Click on “Configure” on the Job home page in the left menu, and then in the Source Code Management section of the project, choose git under the options. Now we get three blanks to be filled, first one being the Repository URL and the Credentials dropdown. Provide the Github repository URL (the same as what we would use for cloning: https://github.com/xxxxx/xxxxx.git) and for Credentials, select the credentials we just created in step 1, in the credential store. Leave the “branches to build” section unchanged since in our case the project code is available under the master branch which is default. If any other branch needs to be checkedout for build, we can specify it here. This completes the second step.
Configure commands to build the fetched codebase
In the third step, we would configure the jenkins job to build the project codebase that has been fetched from the git repository so far. Since the codebase is an aspnetcore project (in our case, ReadersApi.csproj), we shall use the dotnet CLI commands to build the project. To run dotnetcore commands or to build an aspnetcore project for that matter, we need to have dotnetcore SDK installed which matches the version of the aspnetcore project we’re build automating. Since the commands run inside our Jenkins hosted in our server machine, we would install SDK in that machine so that the commands are available for execution inside Jenkins.
“Since we’re using a Freestyle project in this case, we shall provide the commands as “build steps” which are individual commands that run as a shell (or windows batch) scripts.”
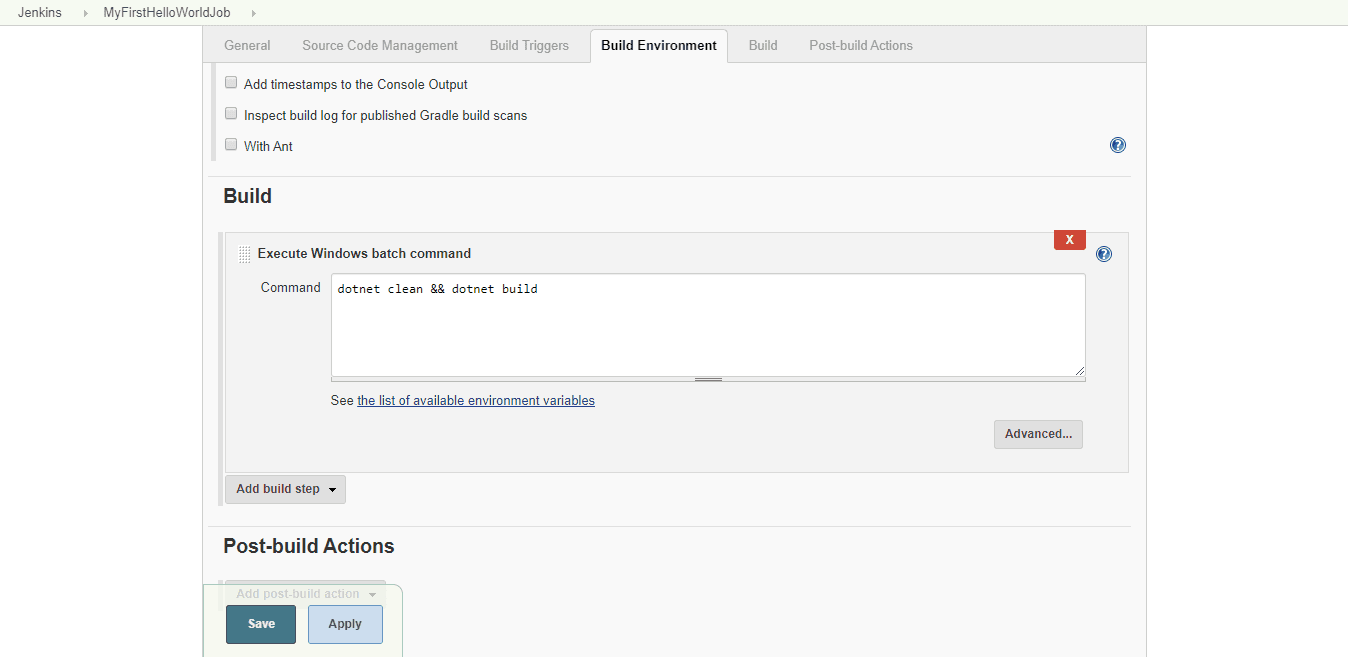
Under the Build section within the command box, We add the below commands to “Clean & Build”:
dotnet clean && dotnet build
“All the instructions that are executed under a jenkins job run under the job directory under workspaces within the jenkins installation directory”
Since each job runs under its own directory, it runs under its own isolation. When the git repository is invoked for to fetch the codebase under the master branch, the code is fetched and placed under the root of the job directory and hence these commands run directly on the fetched codebase without any issues. This completes our Step 3.
Validating the Build Script
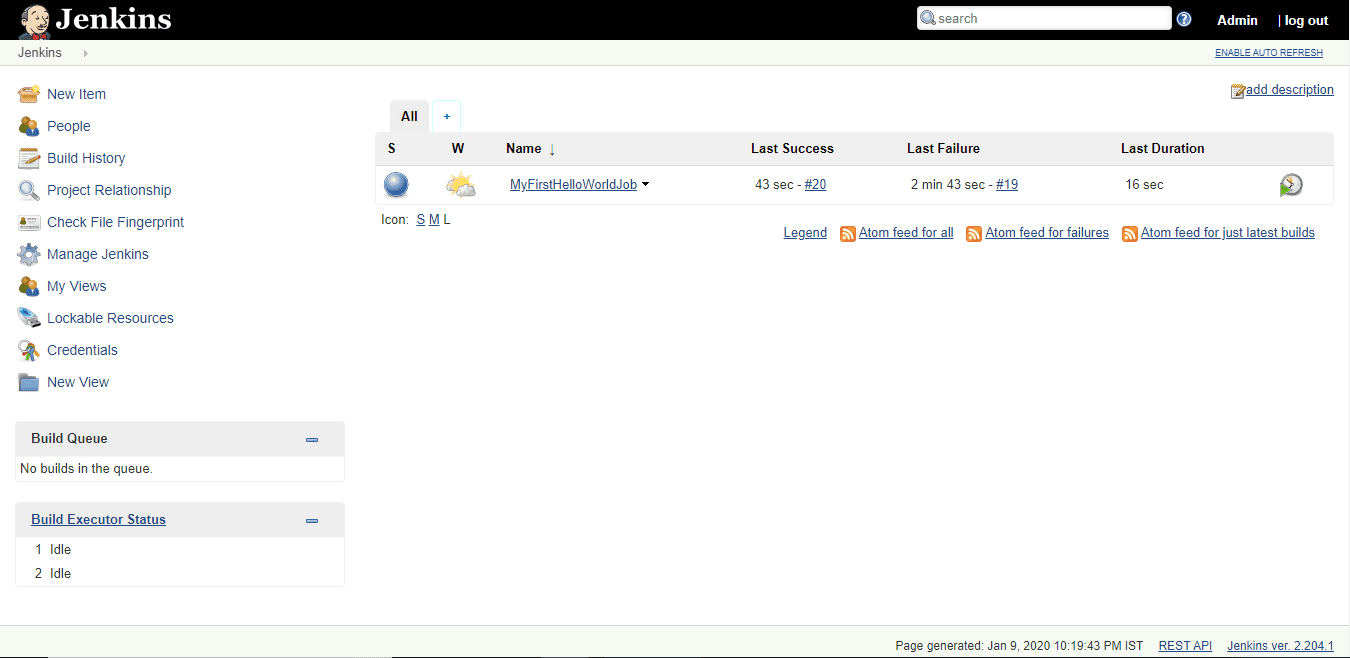
Finally, save the changes and hit on “Build Now” to see how the build happens. We can look at the things happening, under the build log which we can access by clicking on the currently executing build number shown under the build history section in the left side.
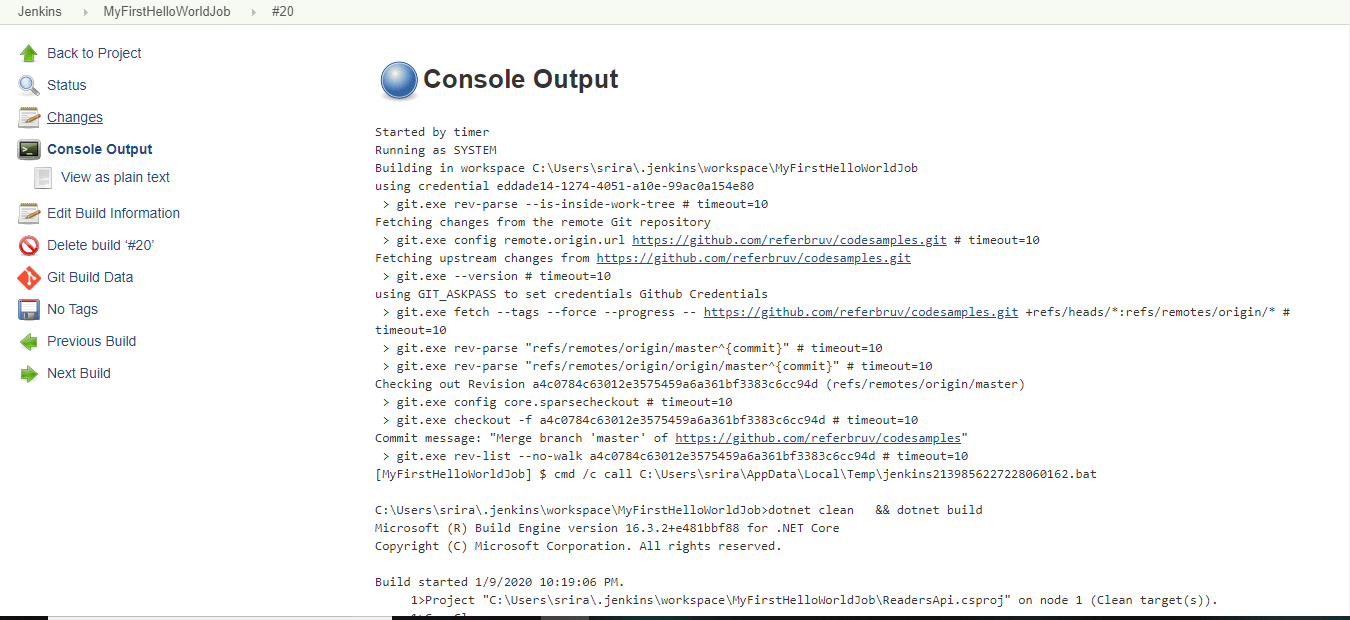
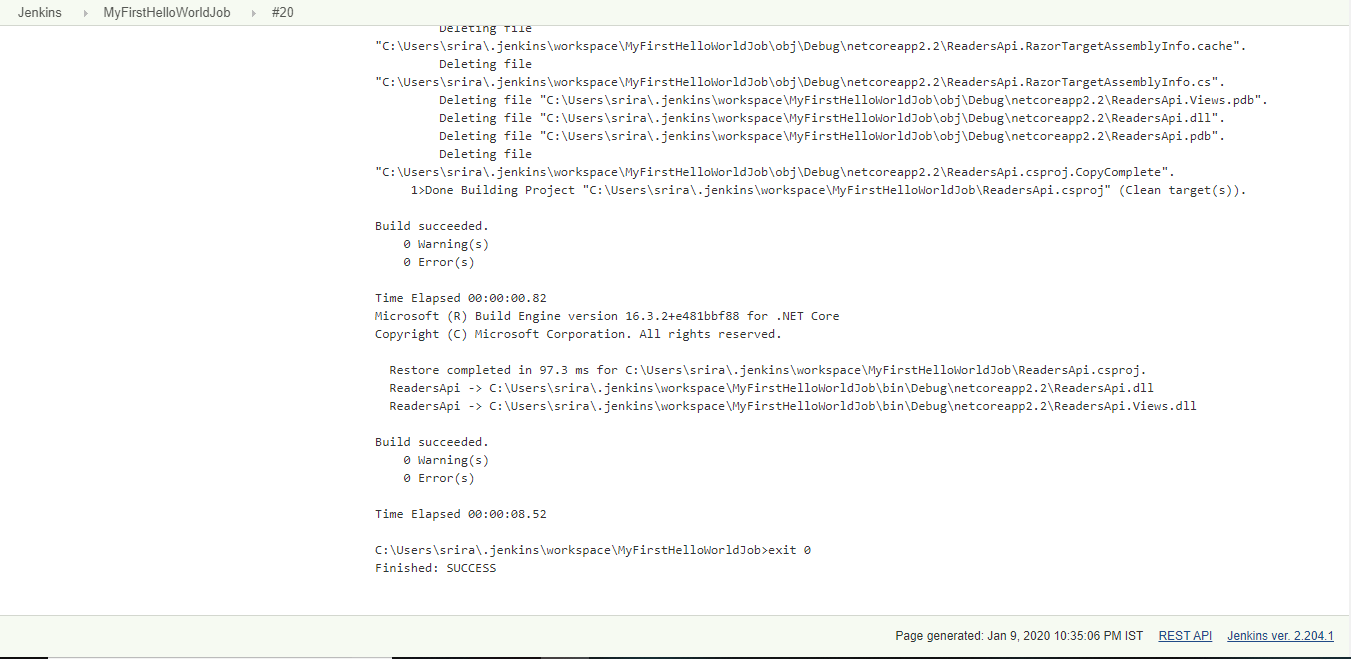
We can see that the job has fetched the code base from the git repository using the credentials we mapped under the credential store and the build has been successful. Since there were no errors that happened within the build or any step within the instructions, the build is marked as a success.
This way we can configure a jenkins job to build a project by fetching from the git repository. Next, we shall look at adding test execution on our project codebase and pull test report automatically based on the runs. We shall also try to add value to it by sending build result mails to concerned teams for reference.

