
This is the fourth article in the CI/CD Getting Started series focusing on leveraging build automation of an aspnetcore application using Jenkins automation server. So far we have seen how to setup a remote repository for a standalone codebase via git and then tieing up the same to a jenkins build job for automation. Next we have seen how we can fetch latest codeset from the repository, build to generate artifacts and run unit test scripts on the same using aspnetcore, xunit and such. In this article, we shall finish off the complete development cycle (build, test and deploy) by pushing the build artifacts generated from the build to a remote web server via ftp.
Read:
Fetch – Configure Git Code Repository on to Jenkins Job
Build – Automate building an ASP.NET Core Application using Jenkins and dotnet core CLI
Test – Automate Test Scripts and Generate Reports using Jenkins and xUnit
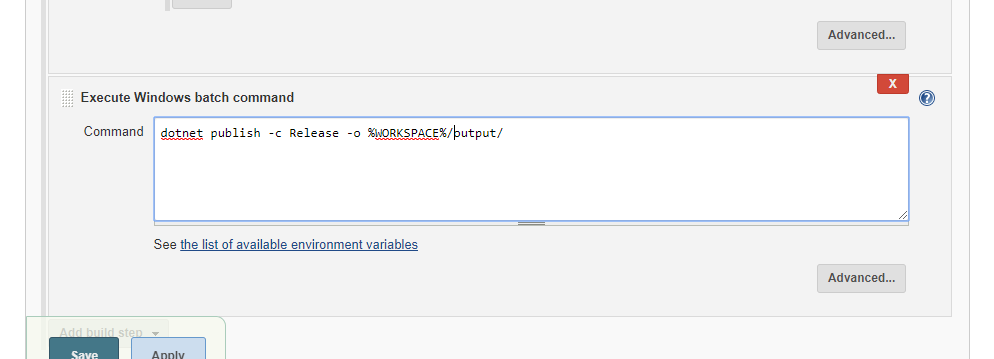
First we shall add a new build step on to the existing steps which clean, build and run unit tests respectively. In this build step, we shall add command which shall publish our aspnetcore core to a specified output directory with a release configuration.
We shall use the publish command of the dotnet core command line as below:
> dotnet publish -c Release -o %WORKSPACE%/output/
The above command builds and generates artifacts using the release configuration and then publishes the generated artifacts and asset items to the specified output location provided with the -o or -output flag. In this case, we give an absolute path within the directory of the job execution given by the %WORKSPACE% environment variable, which was the case in test report generation as well. This is necessary because all the plugins which are added to jenkins job run on the %WORKSPACE% directory by default and having our output artifacts at a relative path to the %WORKSPACE% directory makes things easy.
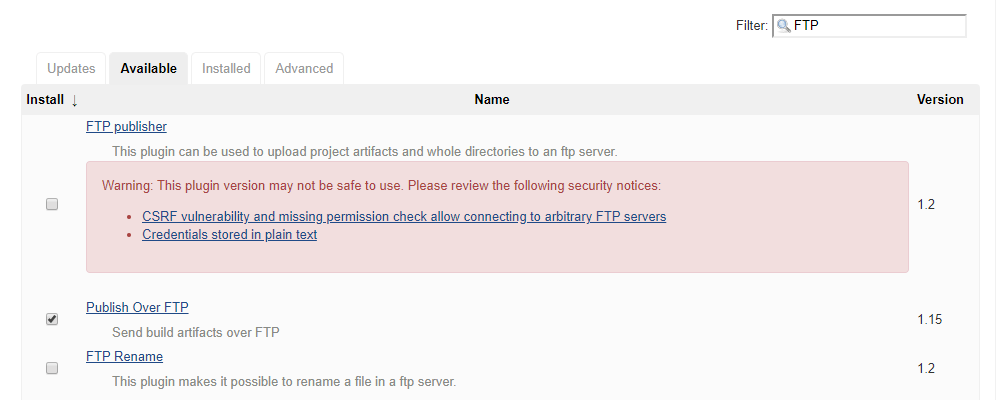
Next, we shall add a post build step to publish to ftp directory on top of which a web application is configured over a web server. Before that, we would need to add an ftp configuration within the global jenkins environment which then shall be referred within the job, which is similar to how we have configured the git credentials within the global environment configurations. First, let’s start by installing the FTP Plugin which we shall use later on. For this we go to the plugins section and then search for “Publish over FTP” plugin.
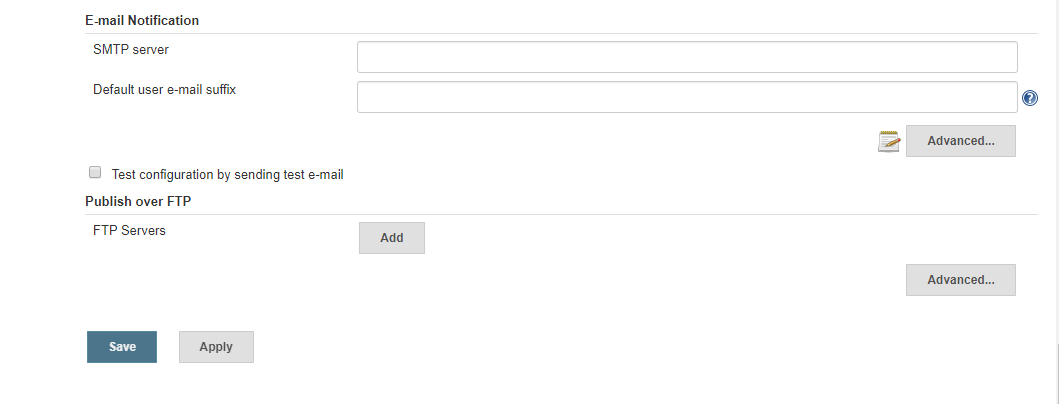
Once done, let’s continue with the ftp configuration; click on manage jenkins and select system configuration. This shall open up a whole bunch of settings which are global to the entire jenkins environment. Scroll to the bottom, where we can find configuration section for FTP which shall be picked up by the FTP Publish plugin we installed earlier.
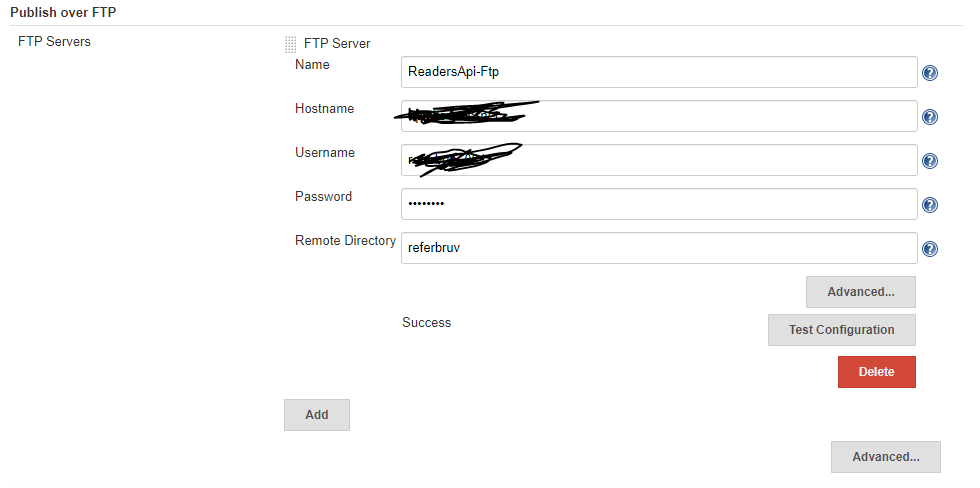
Click on Add Server and then fill in the values like the ftp server configuration and credentials, and then click on “test configuration” to check if the jenkins server is able to make a connection to the ftp server using the configured values. Once successful, click on save.
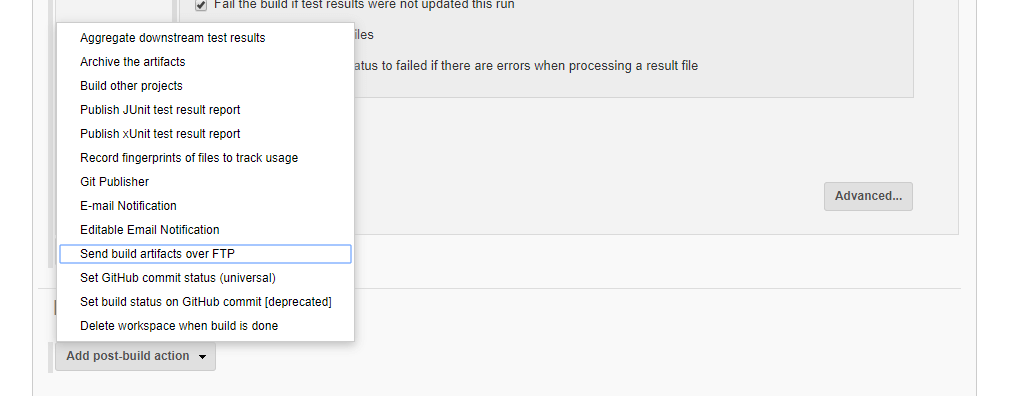
Now, we have the configuration to push the build via ftp ready. Under the build steps we have added till now in the job, we click on the “Add post-build action” under the Post-Build section. We select the “send build artifacts over ftp” option, which adds an ftp config step. We can see that the ftp configuration we created before gets selected by default and we have three boxes to fill. Under the source files and Remove prefix we give “output/” which is the relative path of the output directory which we used for publishing the aspnetcore build.
The Remove prefix is important because if not provided the plugin will create a folder output under the remote ftp directory. For an application where the files need to be copied exactly under the www folder, this can break the code. Hence this is important. We leave the third box empty since we had already given the target folder within the configuration already. We then finish off by clicking on “Save”.
To test, we run the job and observe the build log, where we can find that once the build is published using the dotnet publish command, the plugin pulls up files from the specified folder and then uploads the artifacts to the specified destination ftp folder.
In this way, we can publish our codebase to a remote ftp webserver via Jenkins using the FTP plugin.

