
This is the eighth article in the "Flutter for Beginners" where in we are looking at how to get started with developing mobile applications in the world of flutter. By the end of this series, we shall try to make a simple blog app with a home list of articles with a navigation to each individual article. So far we have seen how to setup the environment, create a sample project to get started and then also analysed the various files and folders that reside under a flutter project and their individual purposes on the whole. And we have a gone a step ahead and created a scrollable view of an article page with an Image, a Title and a long description without having to face issues of display overflow. In this article, let’s look at how we can iterate the view tiles we have created so far by means of another container widget aka the ListView widget.
Read:
Article 1 – Setting Things up and Getting Started
Article 2 – Understanding App Structure and Anatomy
Article 3 – Understanding the main.dart and flow of execution – First run
Article 4 – Understanding Stateful and Stateless Widgets
Article 5 – Creating a Scrollable Content View
Article 6 – Understanding a Scaffold Widget
Article 7 – Working with Container, Rows and Columns
Getting started with Lists:
So far we have created a blog content page with a banner image, a title with an expanding content. Now this forms the detail view, while we would need to have a landing view that shows off various blog posts that are available in the application via some source such as a backend service, a cache store and so on. This view is an iterating widget tiles with the same banner scaled down to that of an icon, the title along with a little content from the actual long content. And we would have several of these blog posts which need to be shown in a scrolling view. Now we can’t just copy paste the same tile code for n number of times. For this, we go with a ListView which auto generates the tiles for us for a given array of items.
How ListView works?
Like any other Flutter component, a ListView is a widget that provides us with a "scrollable" view of tiles, iterating over a given content array. We’re stressing the word "scrollable" here because, a listview already comes up with a scrollable view within itself and so one doesn’t need to stack it under another widget view which might alter the viewport. If stacked, might cause rendering time error:
__Vertical viewport was given unbounded height.__

Viewports expand in the scrolling direction to fill their container.
In this case, a vertical viewport was given an unlimited amount of vertical space in which to expand.
This situation typically happens when a scrollable widget is nested inside another scrollable widget.

If this widget is always nested in a scrollable widget there is no need to use a viewport because there will always be enough vertical space for the children.
In this case, consider using a Column instead.
Otherwise, consider using the "shrinkWrap" property (or a ShrinkWrappingViewport) to size the height of the viewport to the sum of the heights of its children.
The Iterating ListView Tile:
A ListView tile, in general comes up with a title, subtitle, a thumbnail and other basic properties to begin with. By binding these properties with a single item values, we can render a single item tile under a list.
For a given content item array of type Item, which is defined as below:
class Item {
  String url;
  String title;
  String content;
  Item({this.url, this.title, this.content});
}
We shall construct a ListTile to be rendered as below:
ListTile(
	contentPadding: EdgeInsets.all(10.0),
        leading: _thumbnail(item),
        title: _text(item.title)
	subtitle: _text(item.content),
)
where thumbnail(item) and text(String) are private methods we’ve defined to represent the Widgets for a thumbnail and text as below:
Widget _thumbnail(Item item) {
    return Container(
        constraints: BoxConstraints.tightFor(width: 100.0),
        child: Image.network(
          item.url,
          fit: BoxFit.fitWidth,
        ));
}

Widget _text(String text) {
    return Text(text);
}
In this case, the thumbnail is an image constrained to width 100dp and fitting within the width. The image is rendered directly from an internet url, so we use the Image.network() method which fetches and renders the image from an external url. the title and subtitle properties are just texts, so we just pass in our title and content into a Text() widget and return the same.
This completes a tile. Now we iterate this ListTile() over an array of content items to complete our ListView. This ListView is a Widget generated by using the method ListView.builder() as below:
ListView.builder(
        itemCount: items.length,
        itemBuilder: (context, index) {
          var item = items[index];
          return ListTile(
              contentPadding: EdgeInsets.all(10.0),
              leading: _thumbnail(item),
              subtitle: _title(item.content),
              title: _title(item.title));
        })
Observe two properties here: the itemCount property which takes in the total count of the items array to be rendered and the itemBuilder iteratively constructs and returns a ListTile for each content item.
Combining all these into a StatelessWidget that renders a complete ListView into our HomePage scaffold, the resultant class is as below:
class MyListView extends StatelessWidget {
  final List<Item> items;

  MyListView({this.items});

  @override
  Widget build(BuildContext context) {
    return ListView.builder(
        itemCount: items.length,
        itemBuilder: (context, index) {
          var item = items[index];
          return ListTile(
              contentPadding: EdgeInsets.all(10.0),
              leading: _thumbnail(item),
              subtitle: _title(item.content),
              title: _title(item.title));
        });
  }

  Widget _thumbnail(Item item) {
    return Container(
        constraints: BoxConstraints.tightFor(width: 100.0),
        child: Image.network(
          item.url,
          fit: BoxFit.fitWidth,
        ));
  }

  Widget _title(String text) {
    return Text(text);
  }
}
We pass in the list of contents into this Widget via constructor from the calling page, where the content array is sourced from an external API or any other means.
//HomePage scaffold

Widget build(BuildContext context) {
    return Scaffold(
        appBar: AppBar(
          title: Text(title),
        ),
        body: MyListView(items: items,));
  }
And when we execute this, the resultant view is as follows:
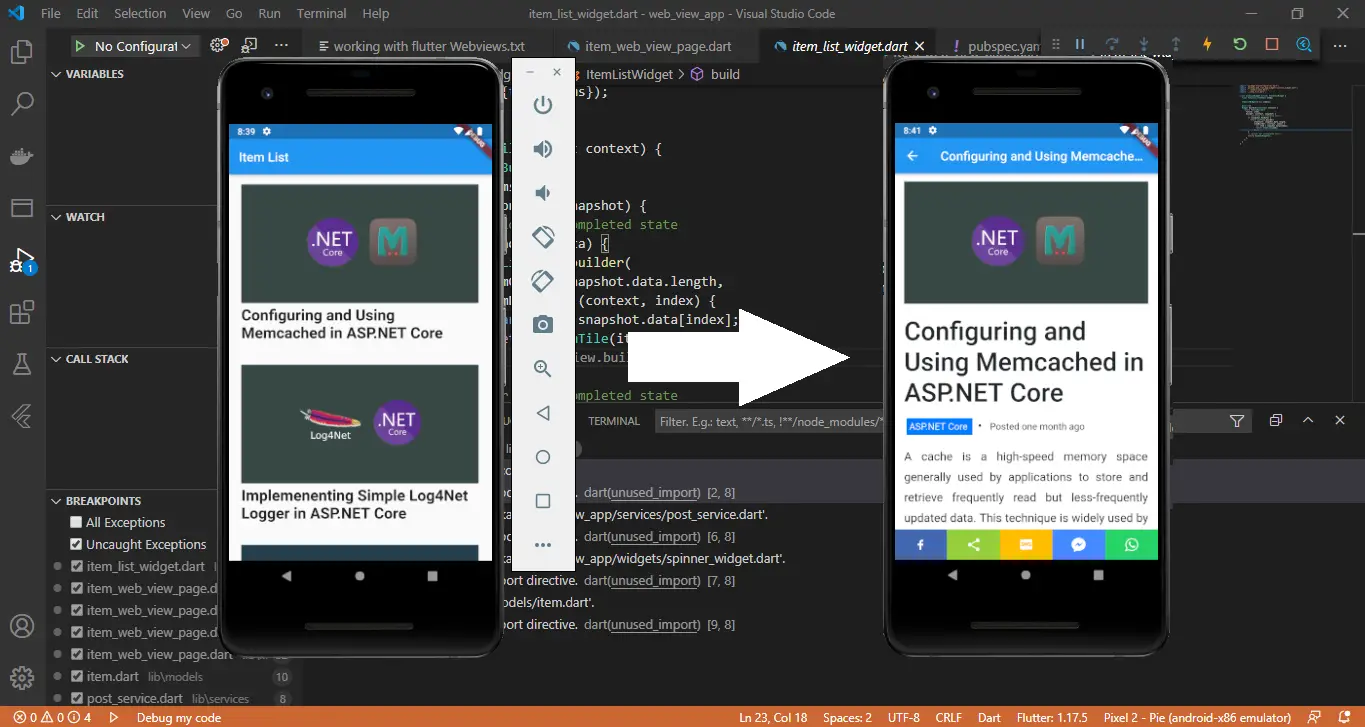
In the next article, let’s look at how we can induce click event on these ListView tiles and load our blog content page for the selected item. Later we shall look at how we can load these content items from an external GET API using the default HttpClient provided within the sdk. Stay tuned!

